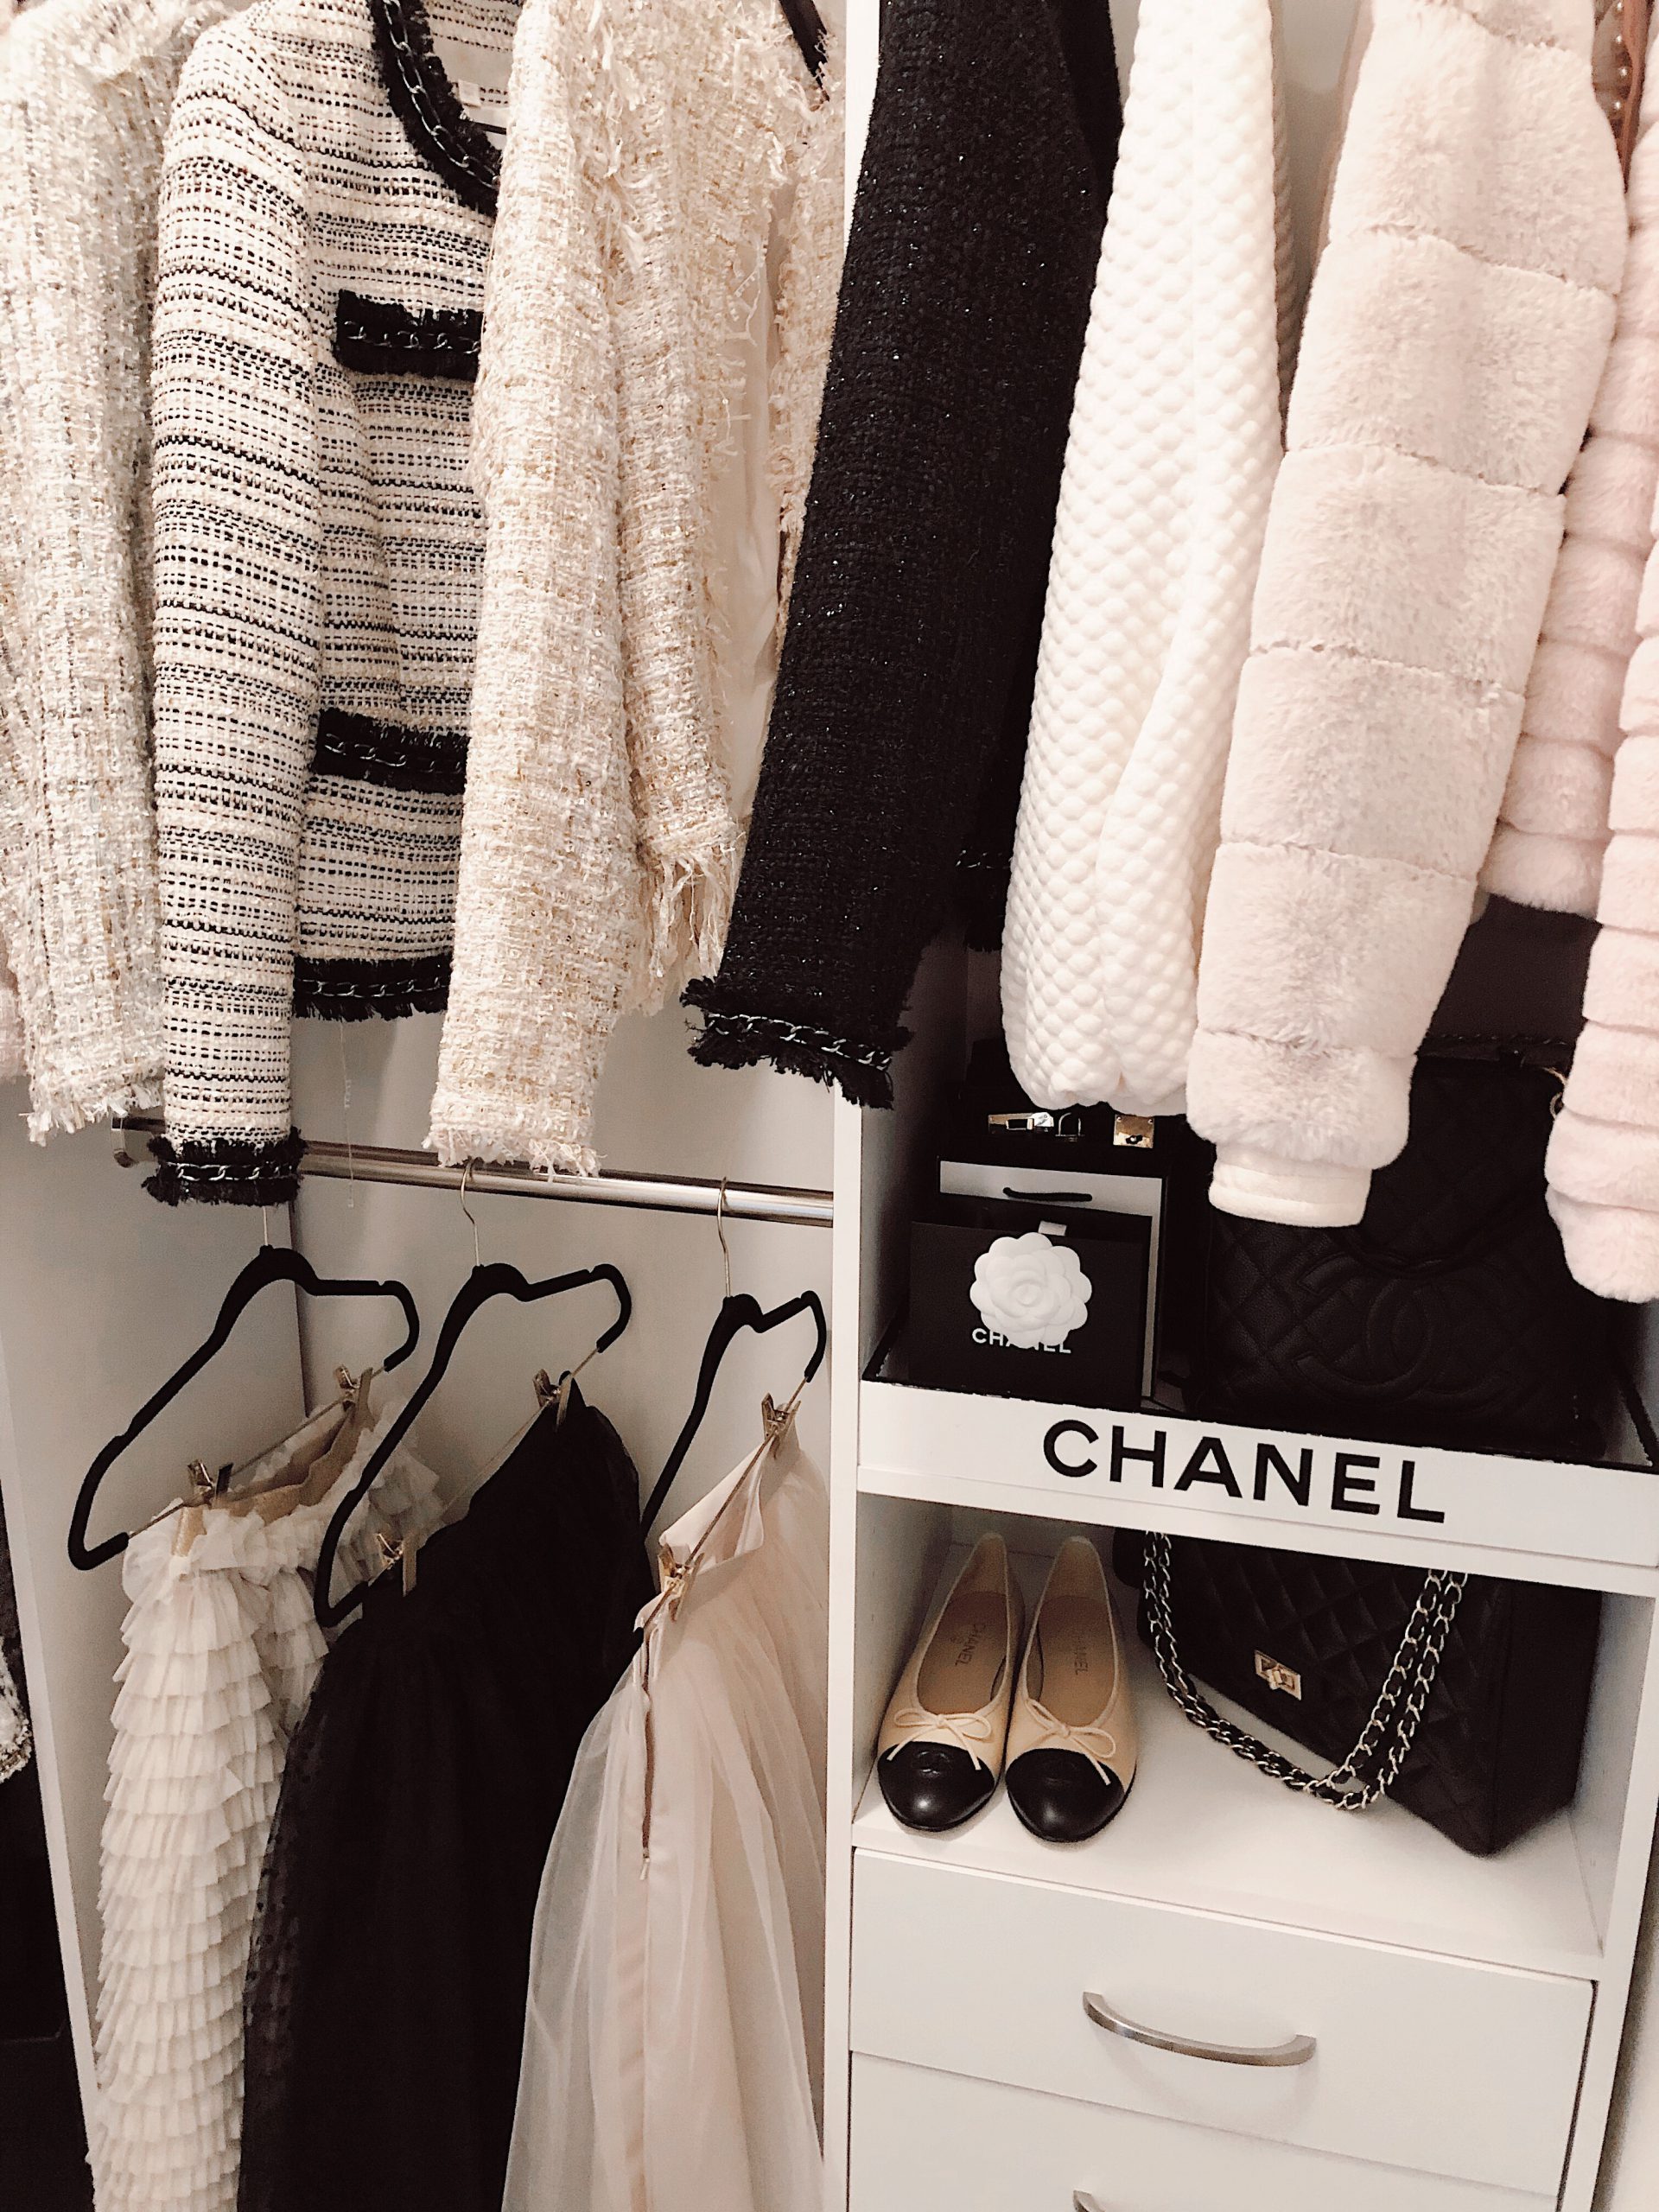
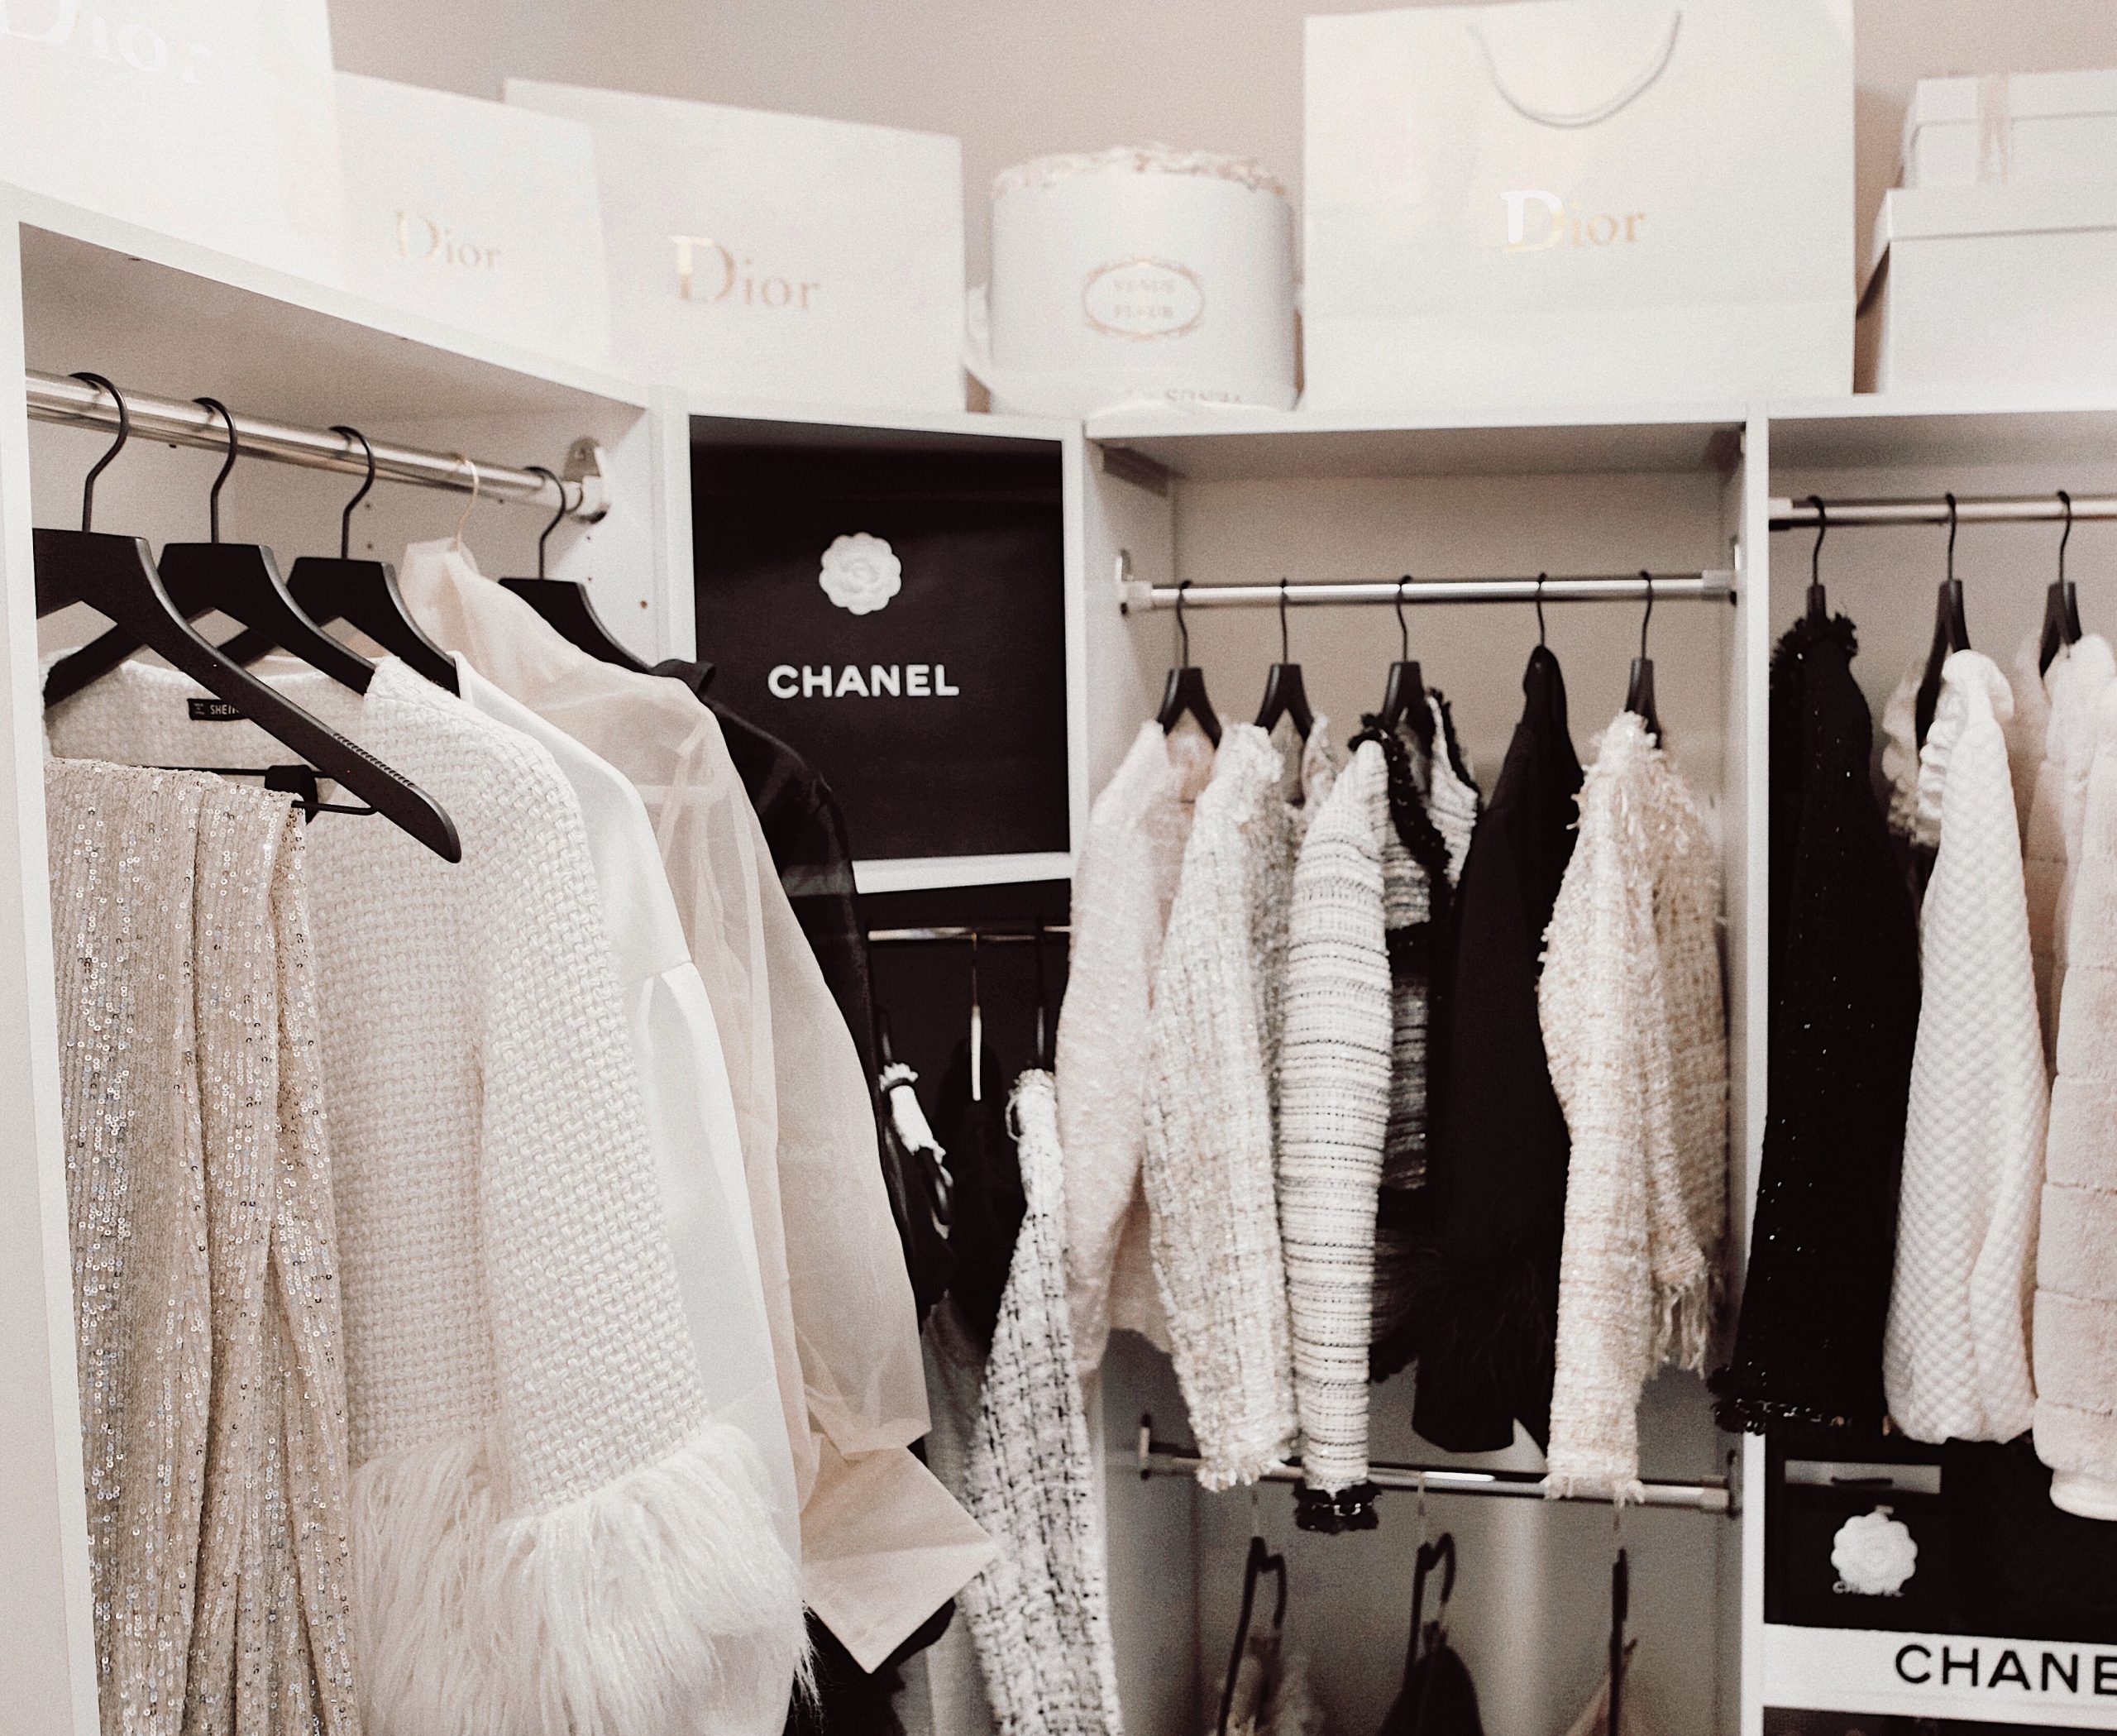
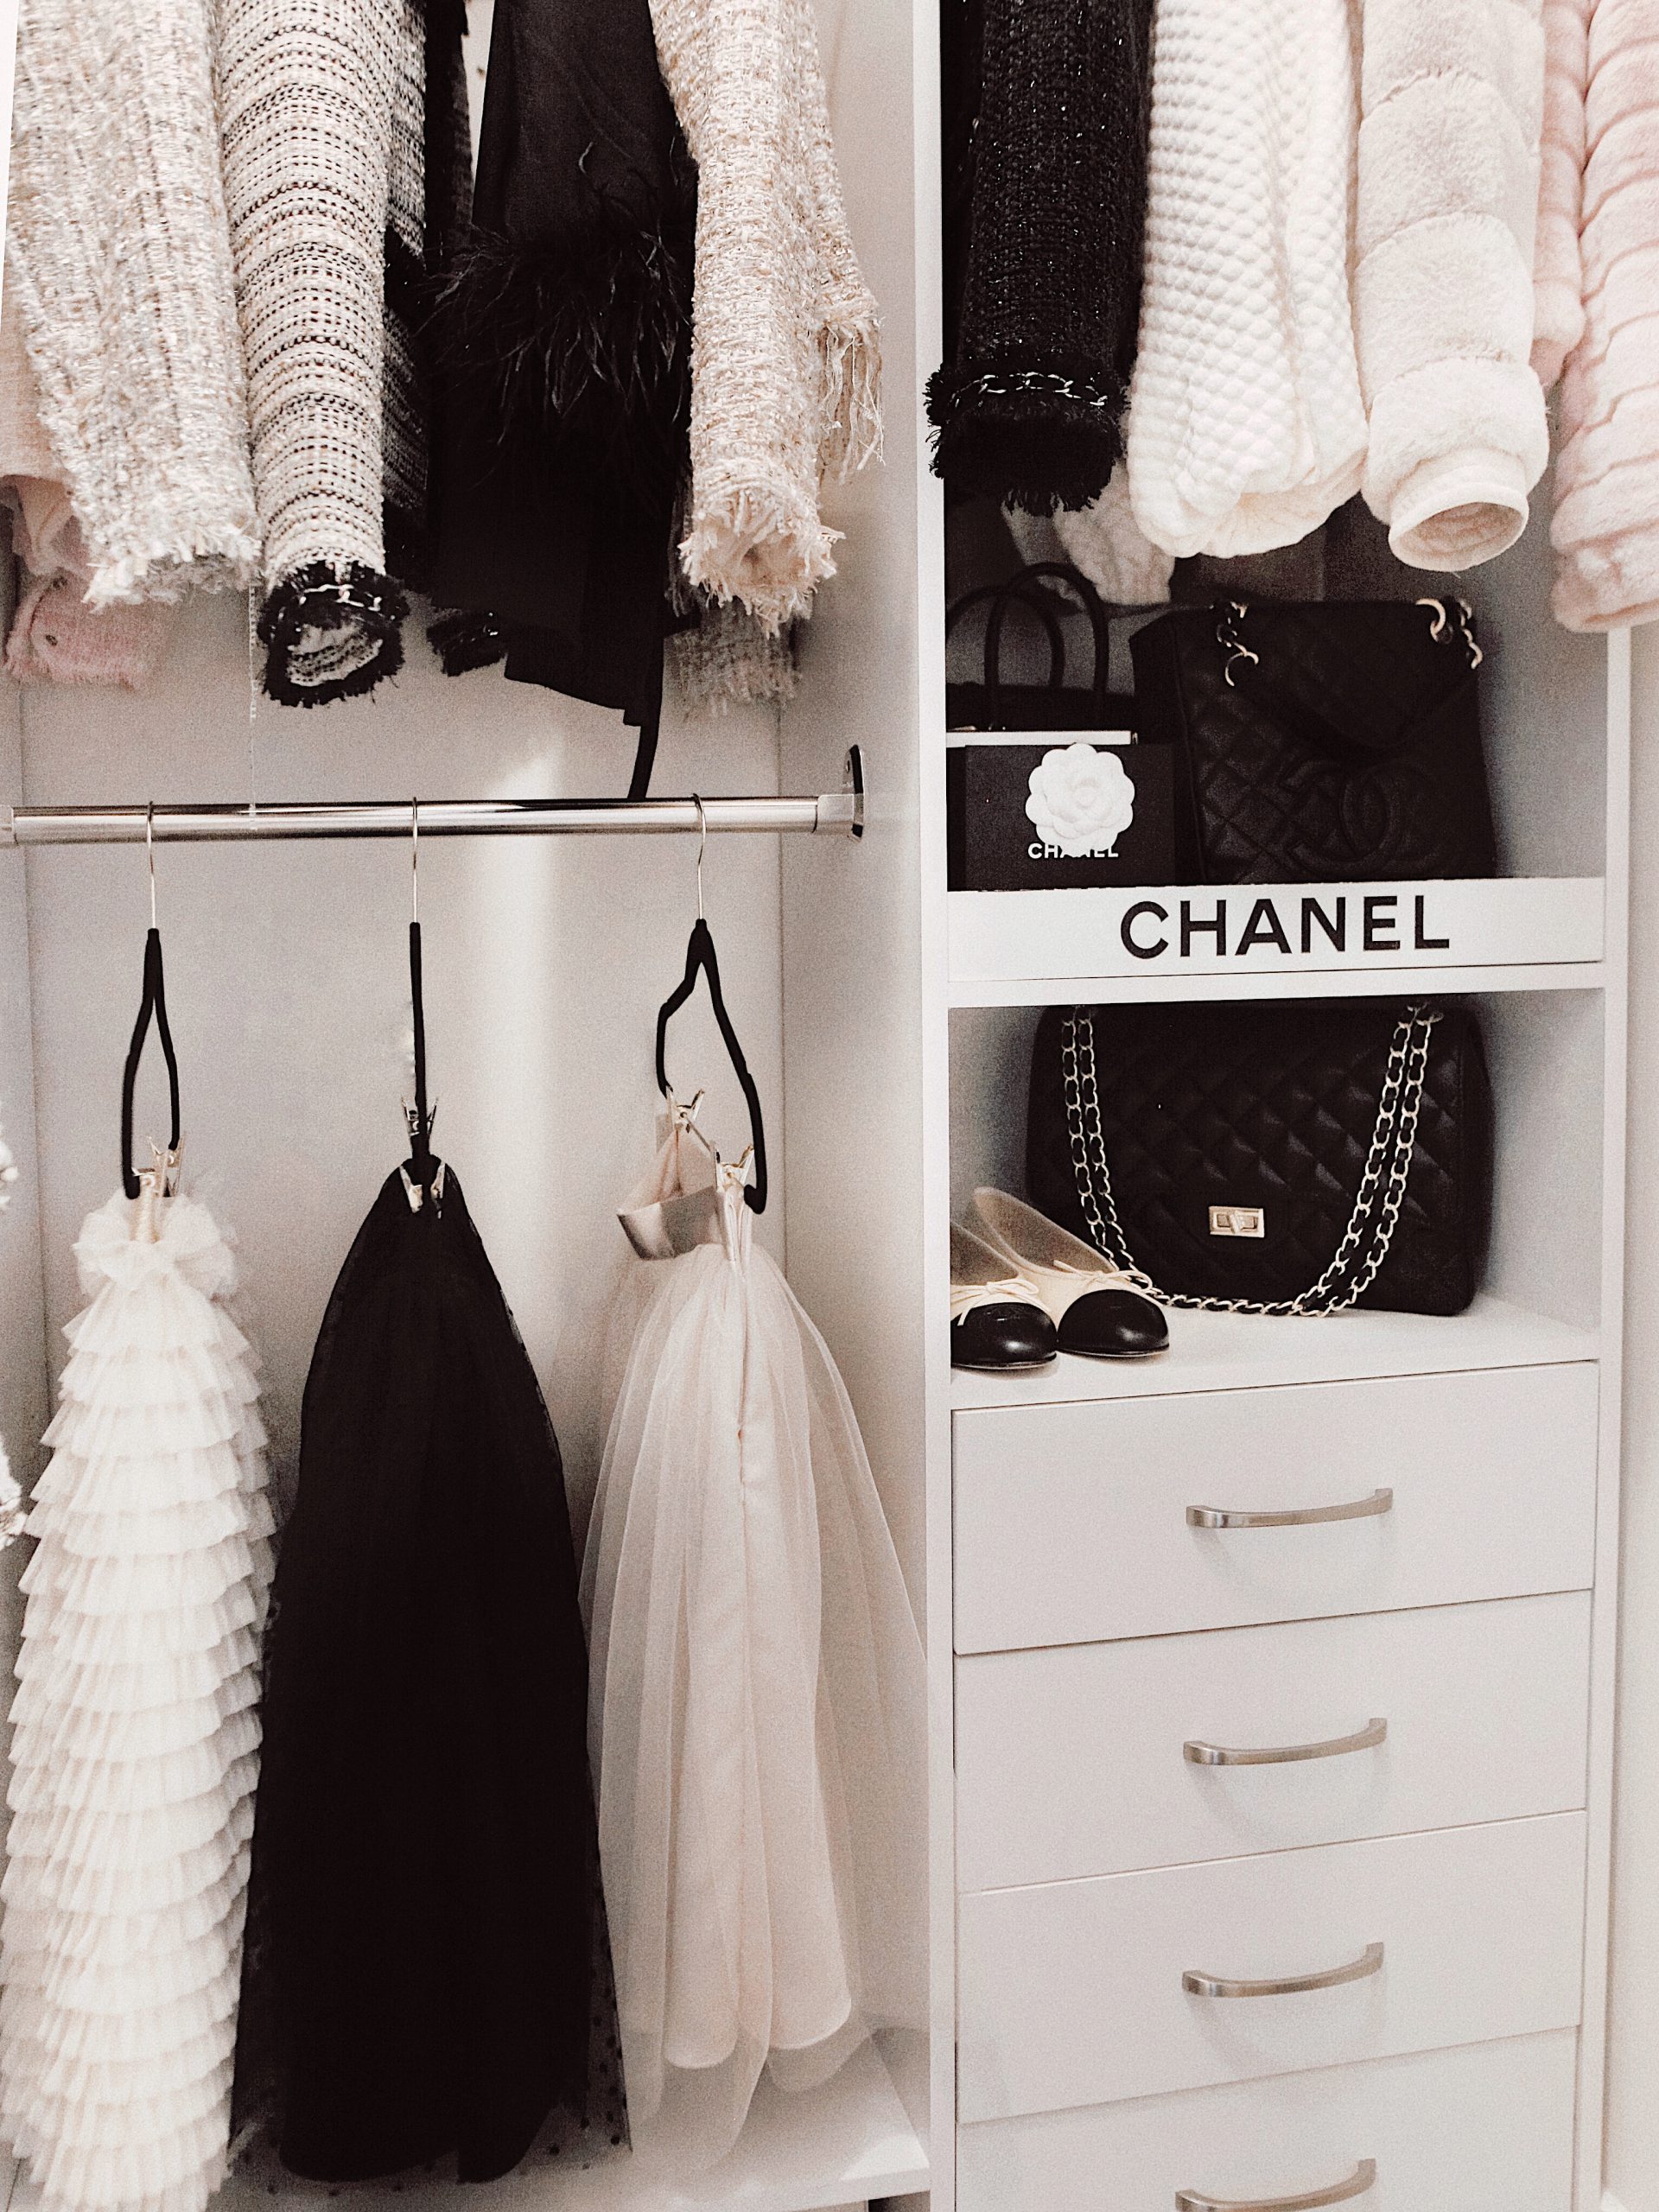
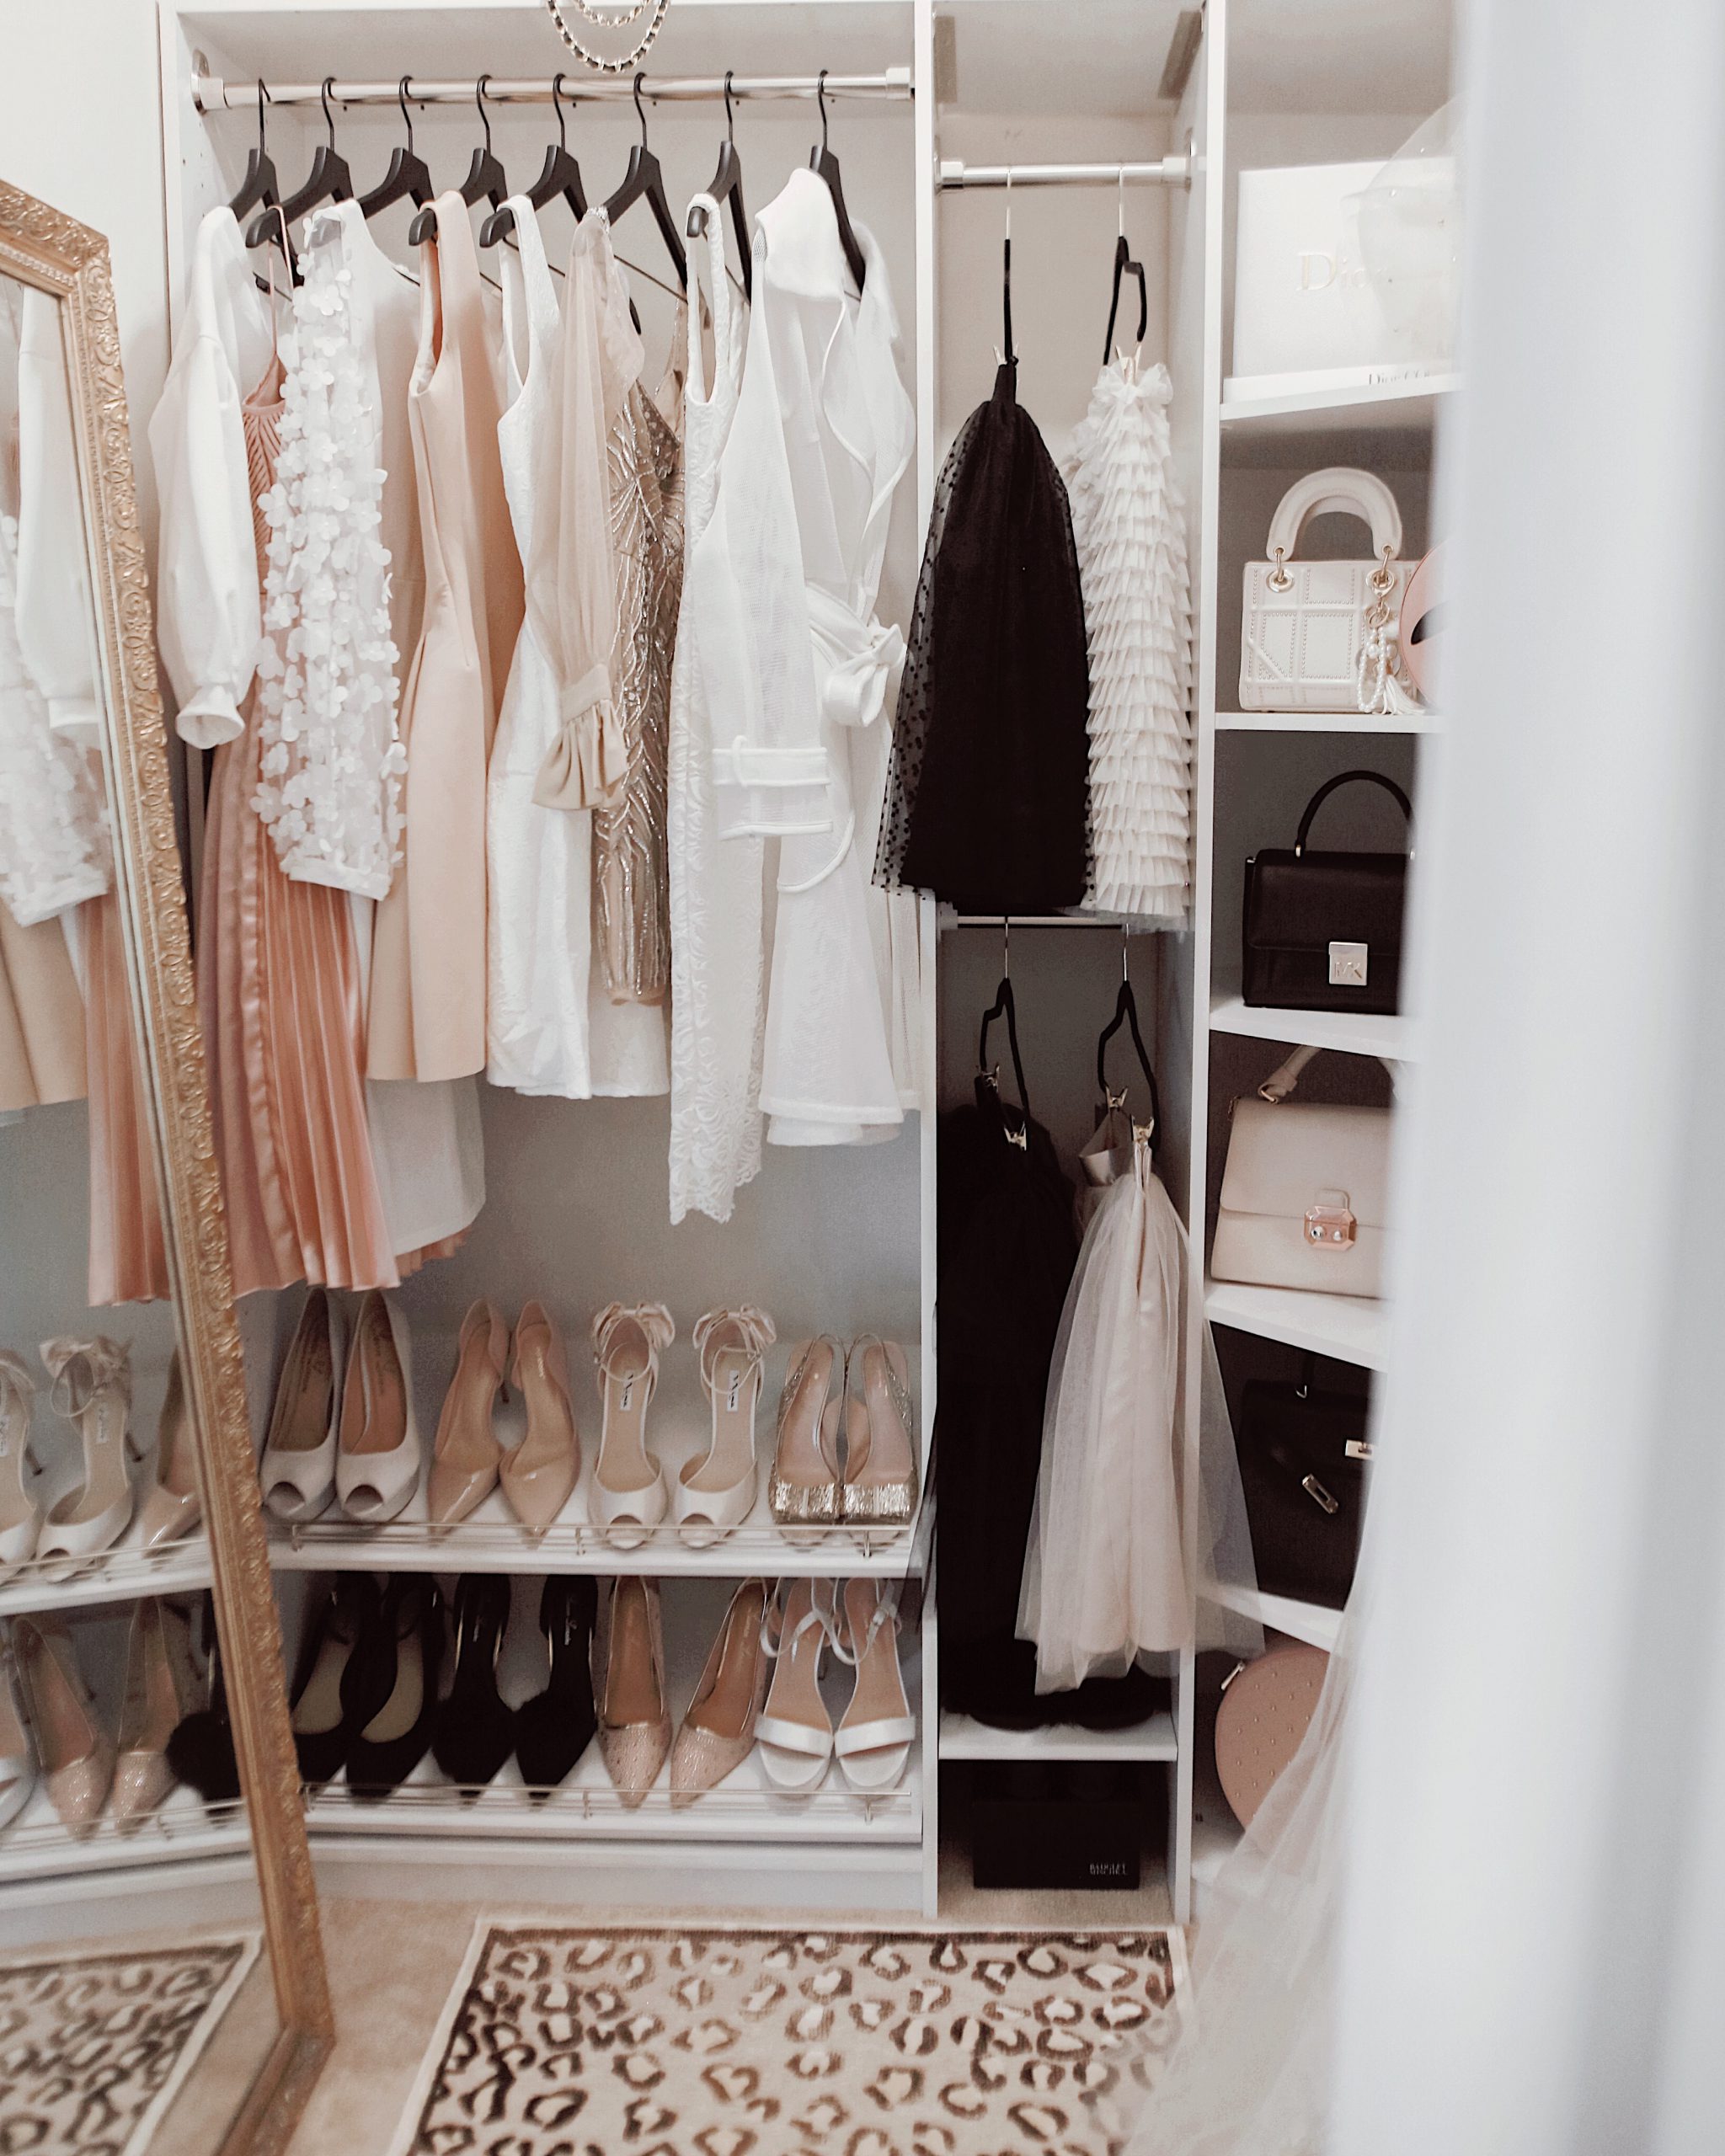
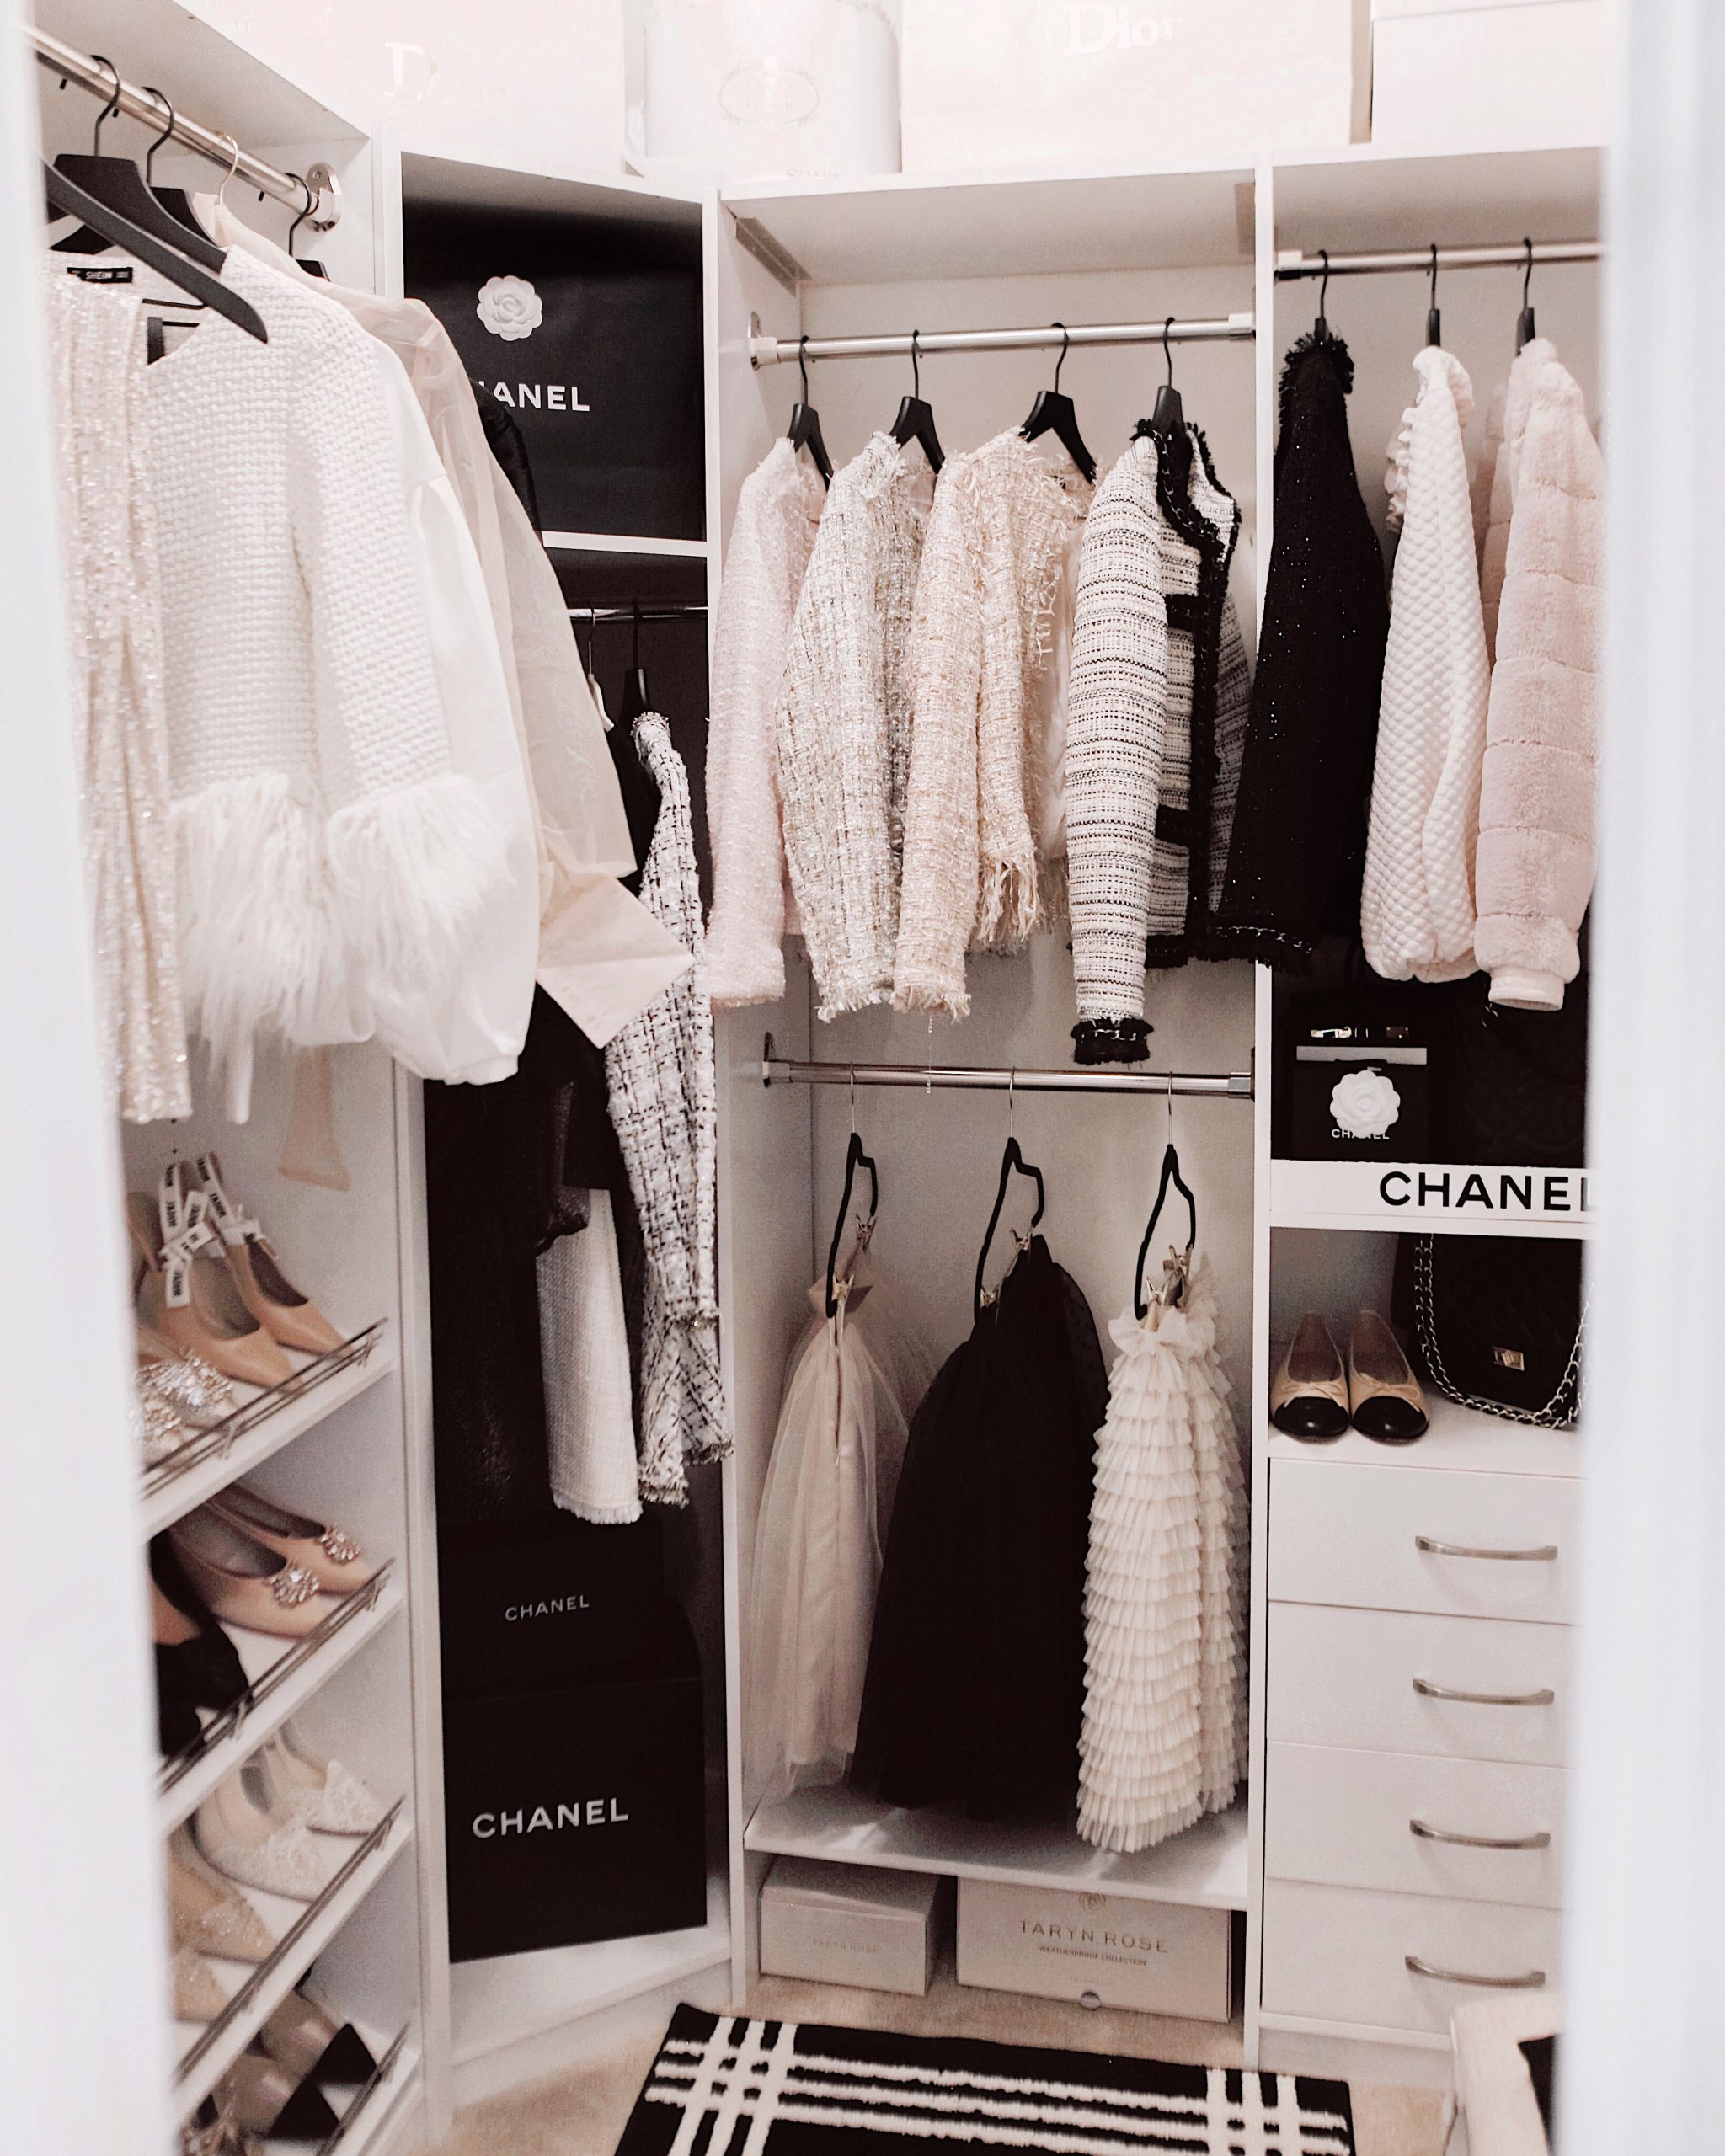
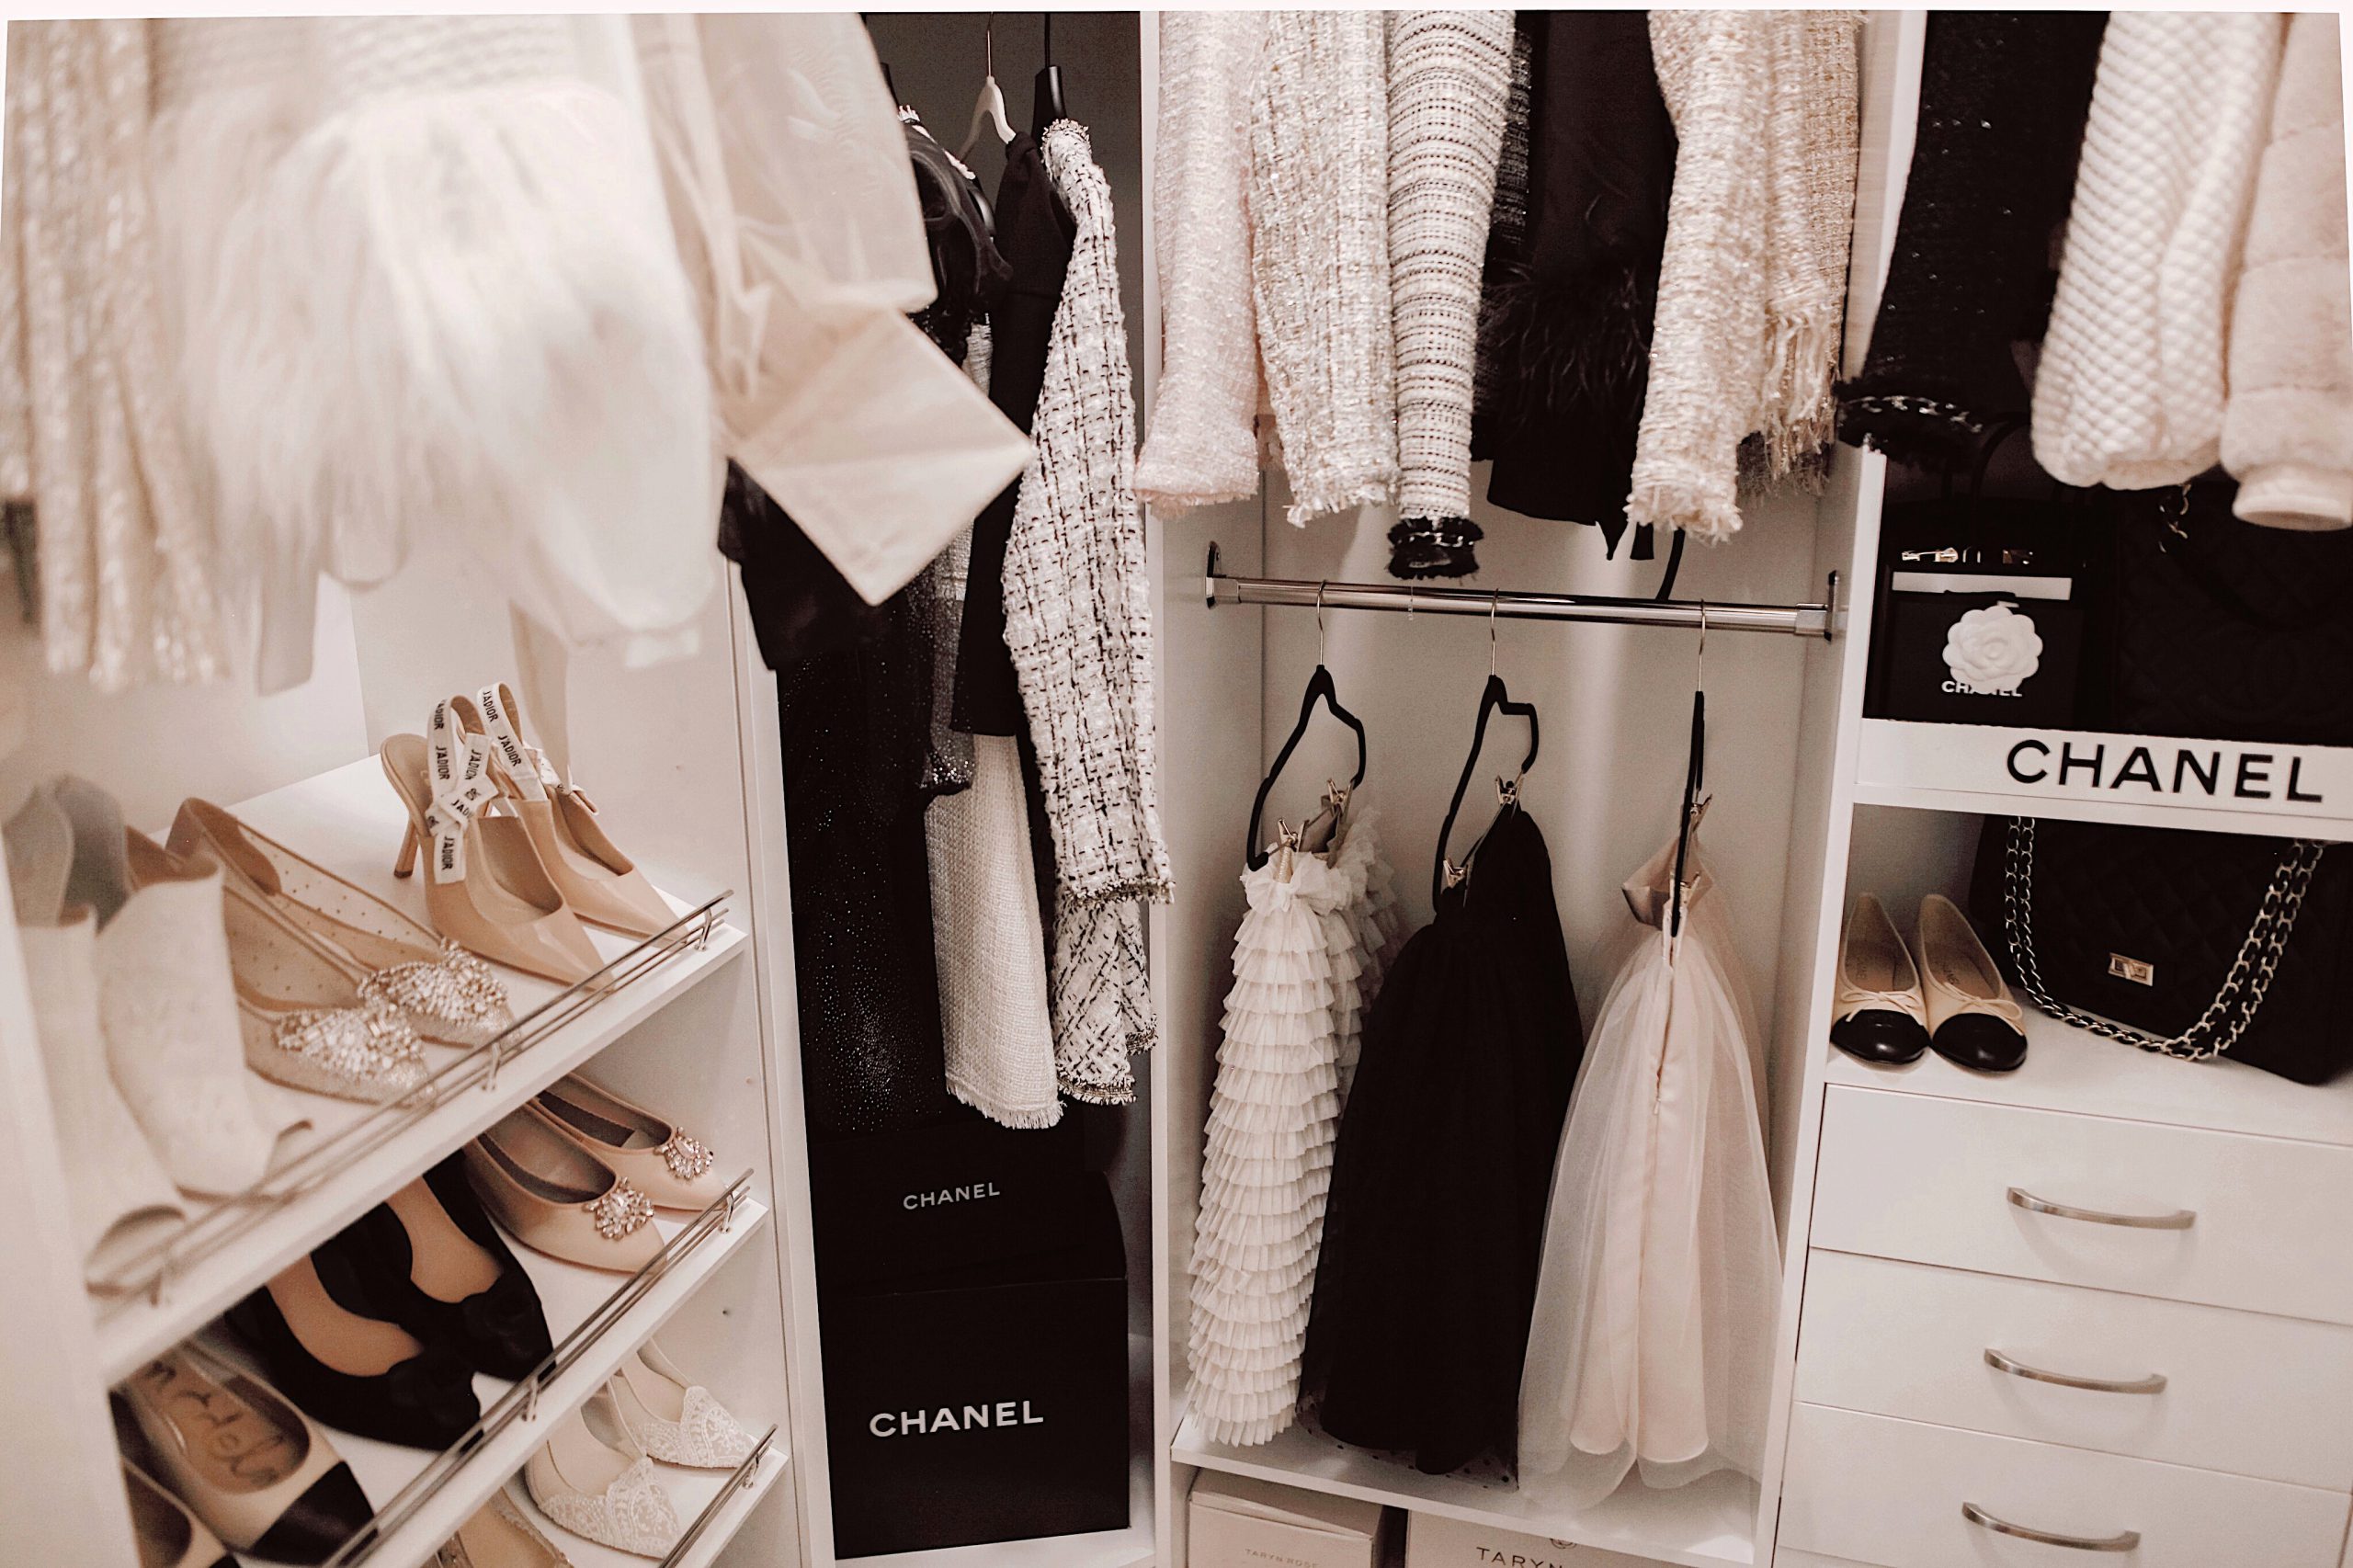
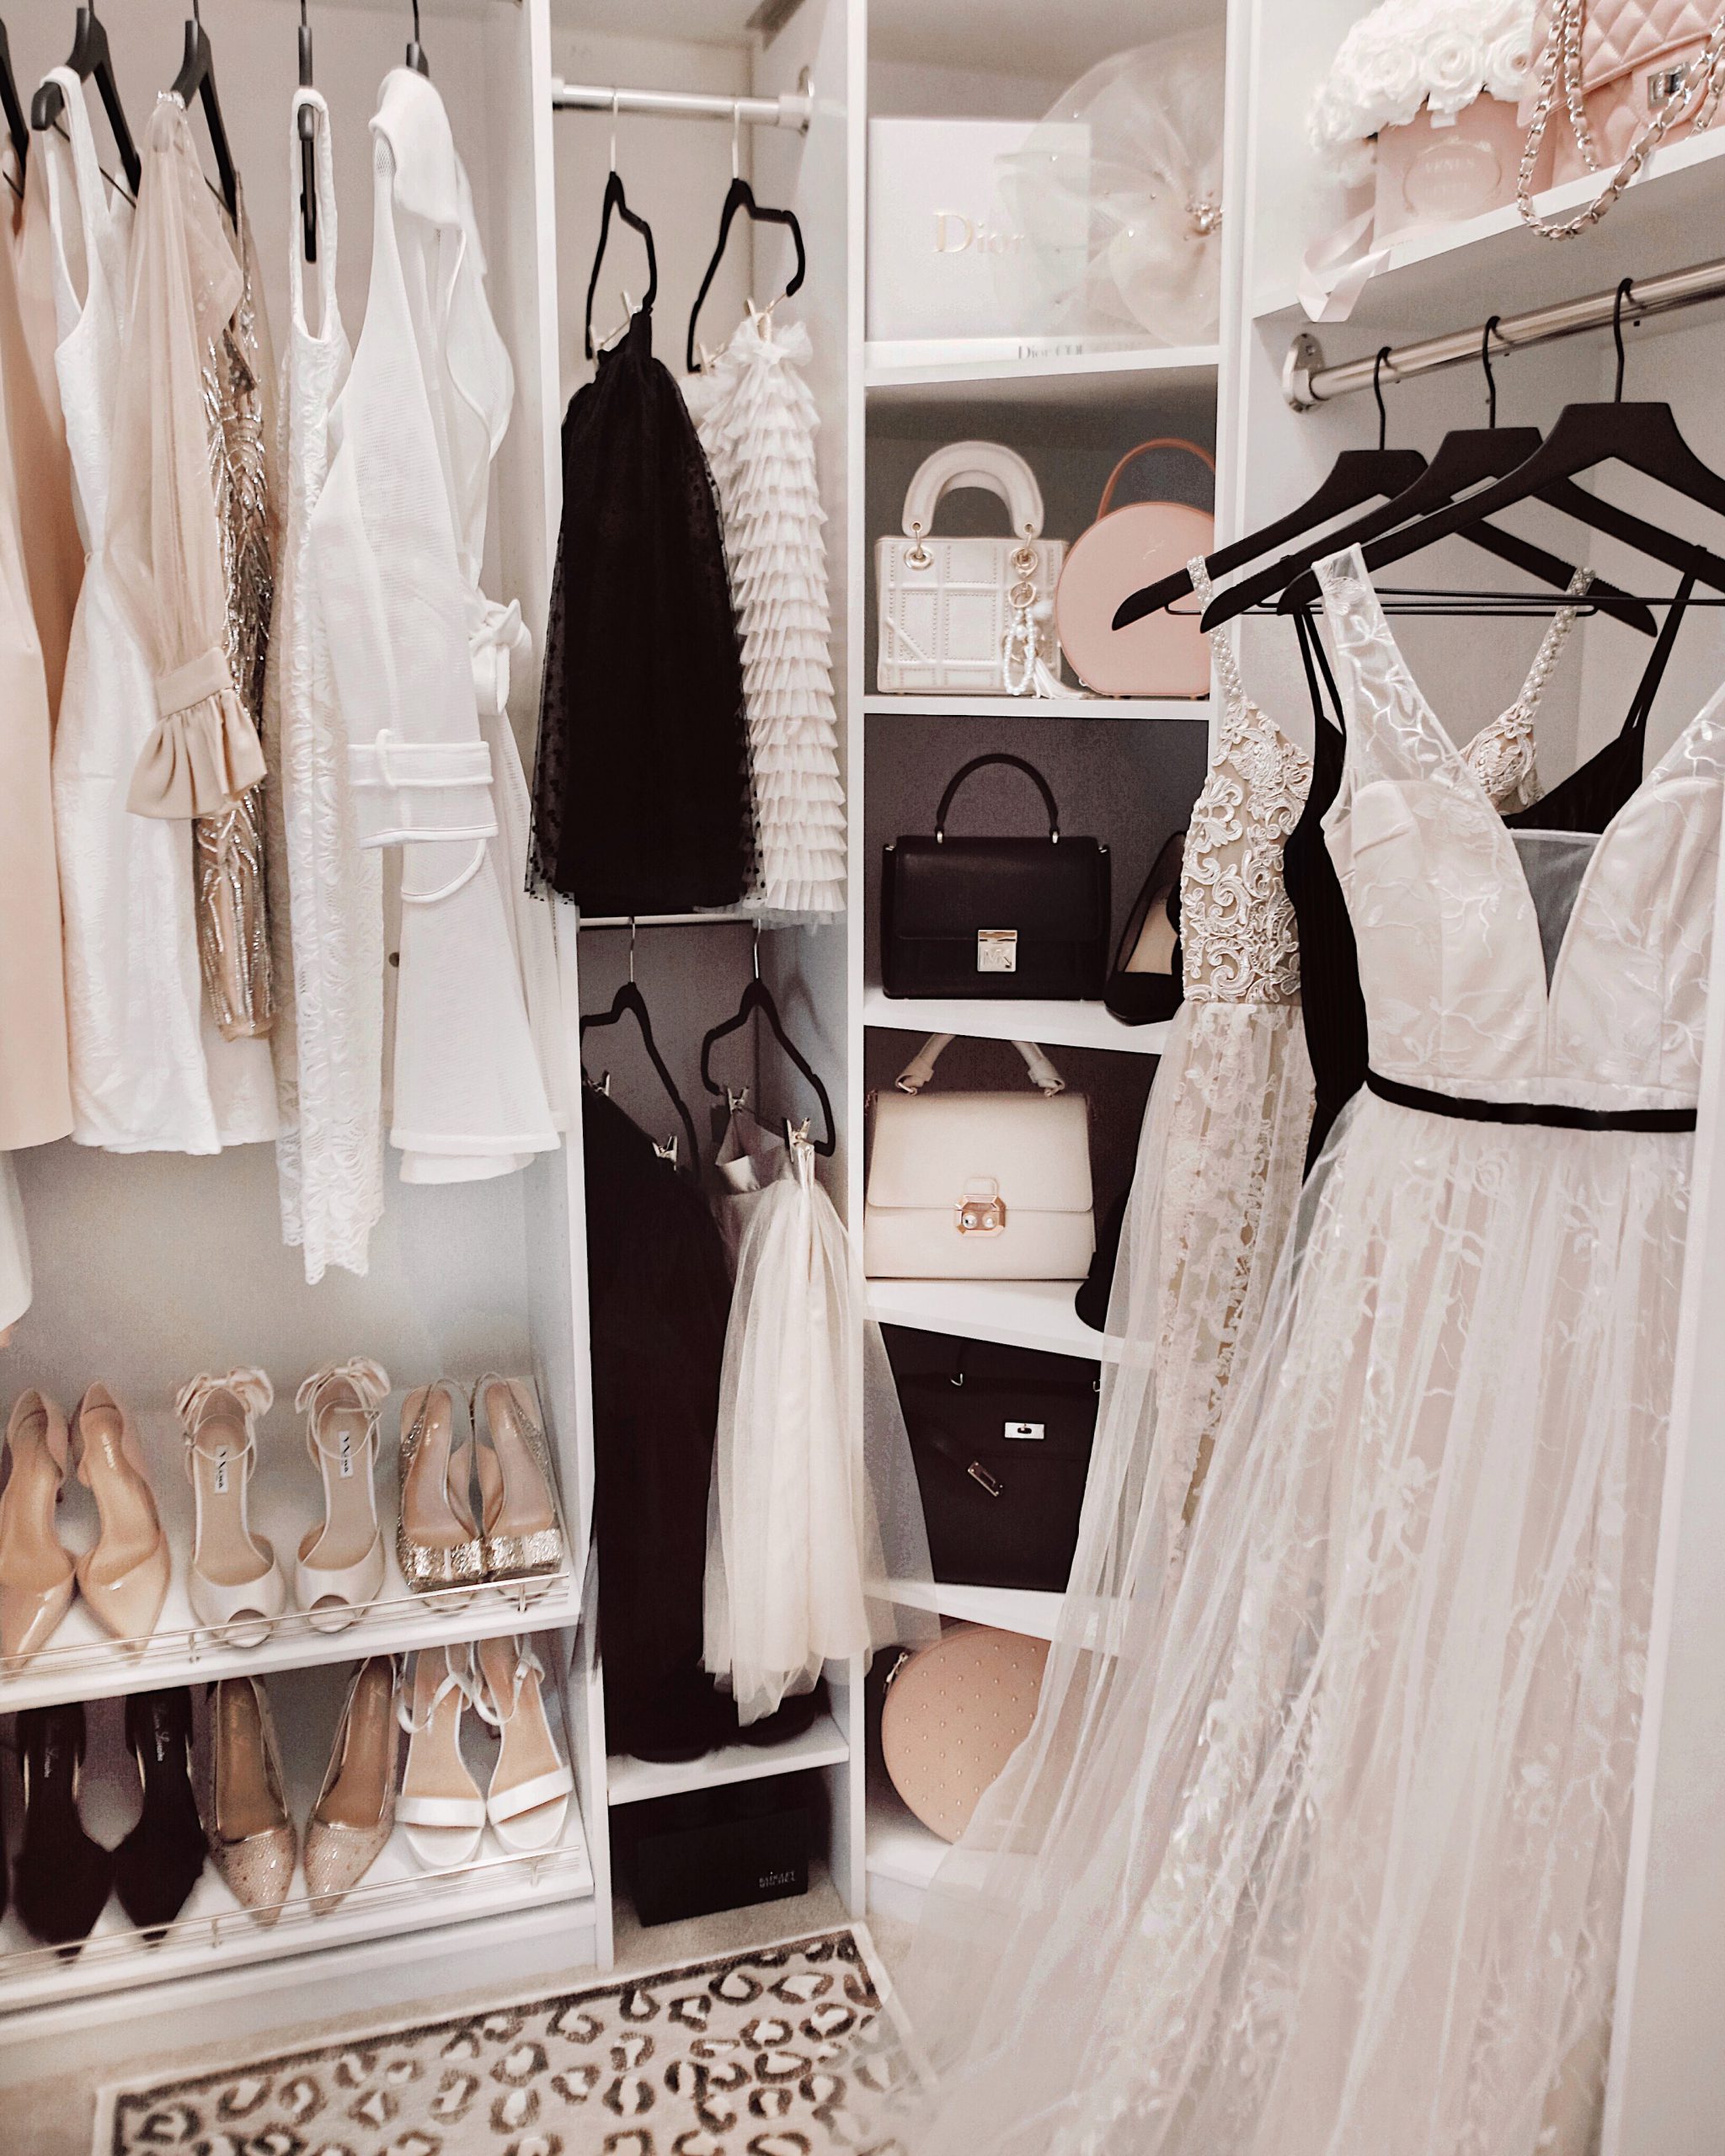
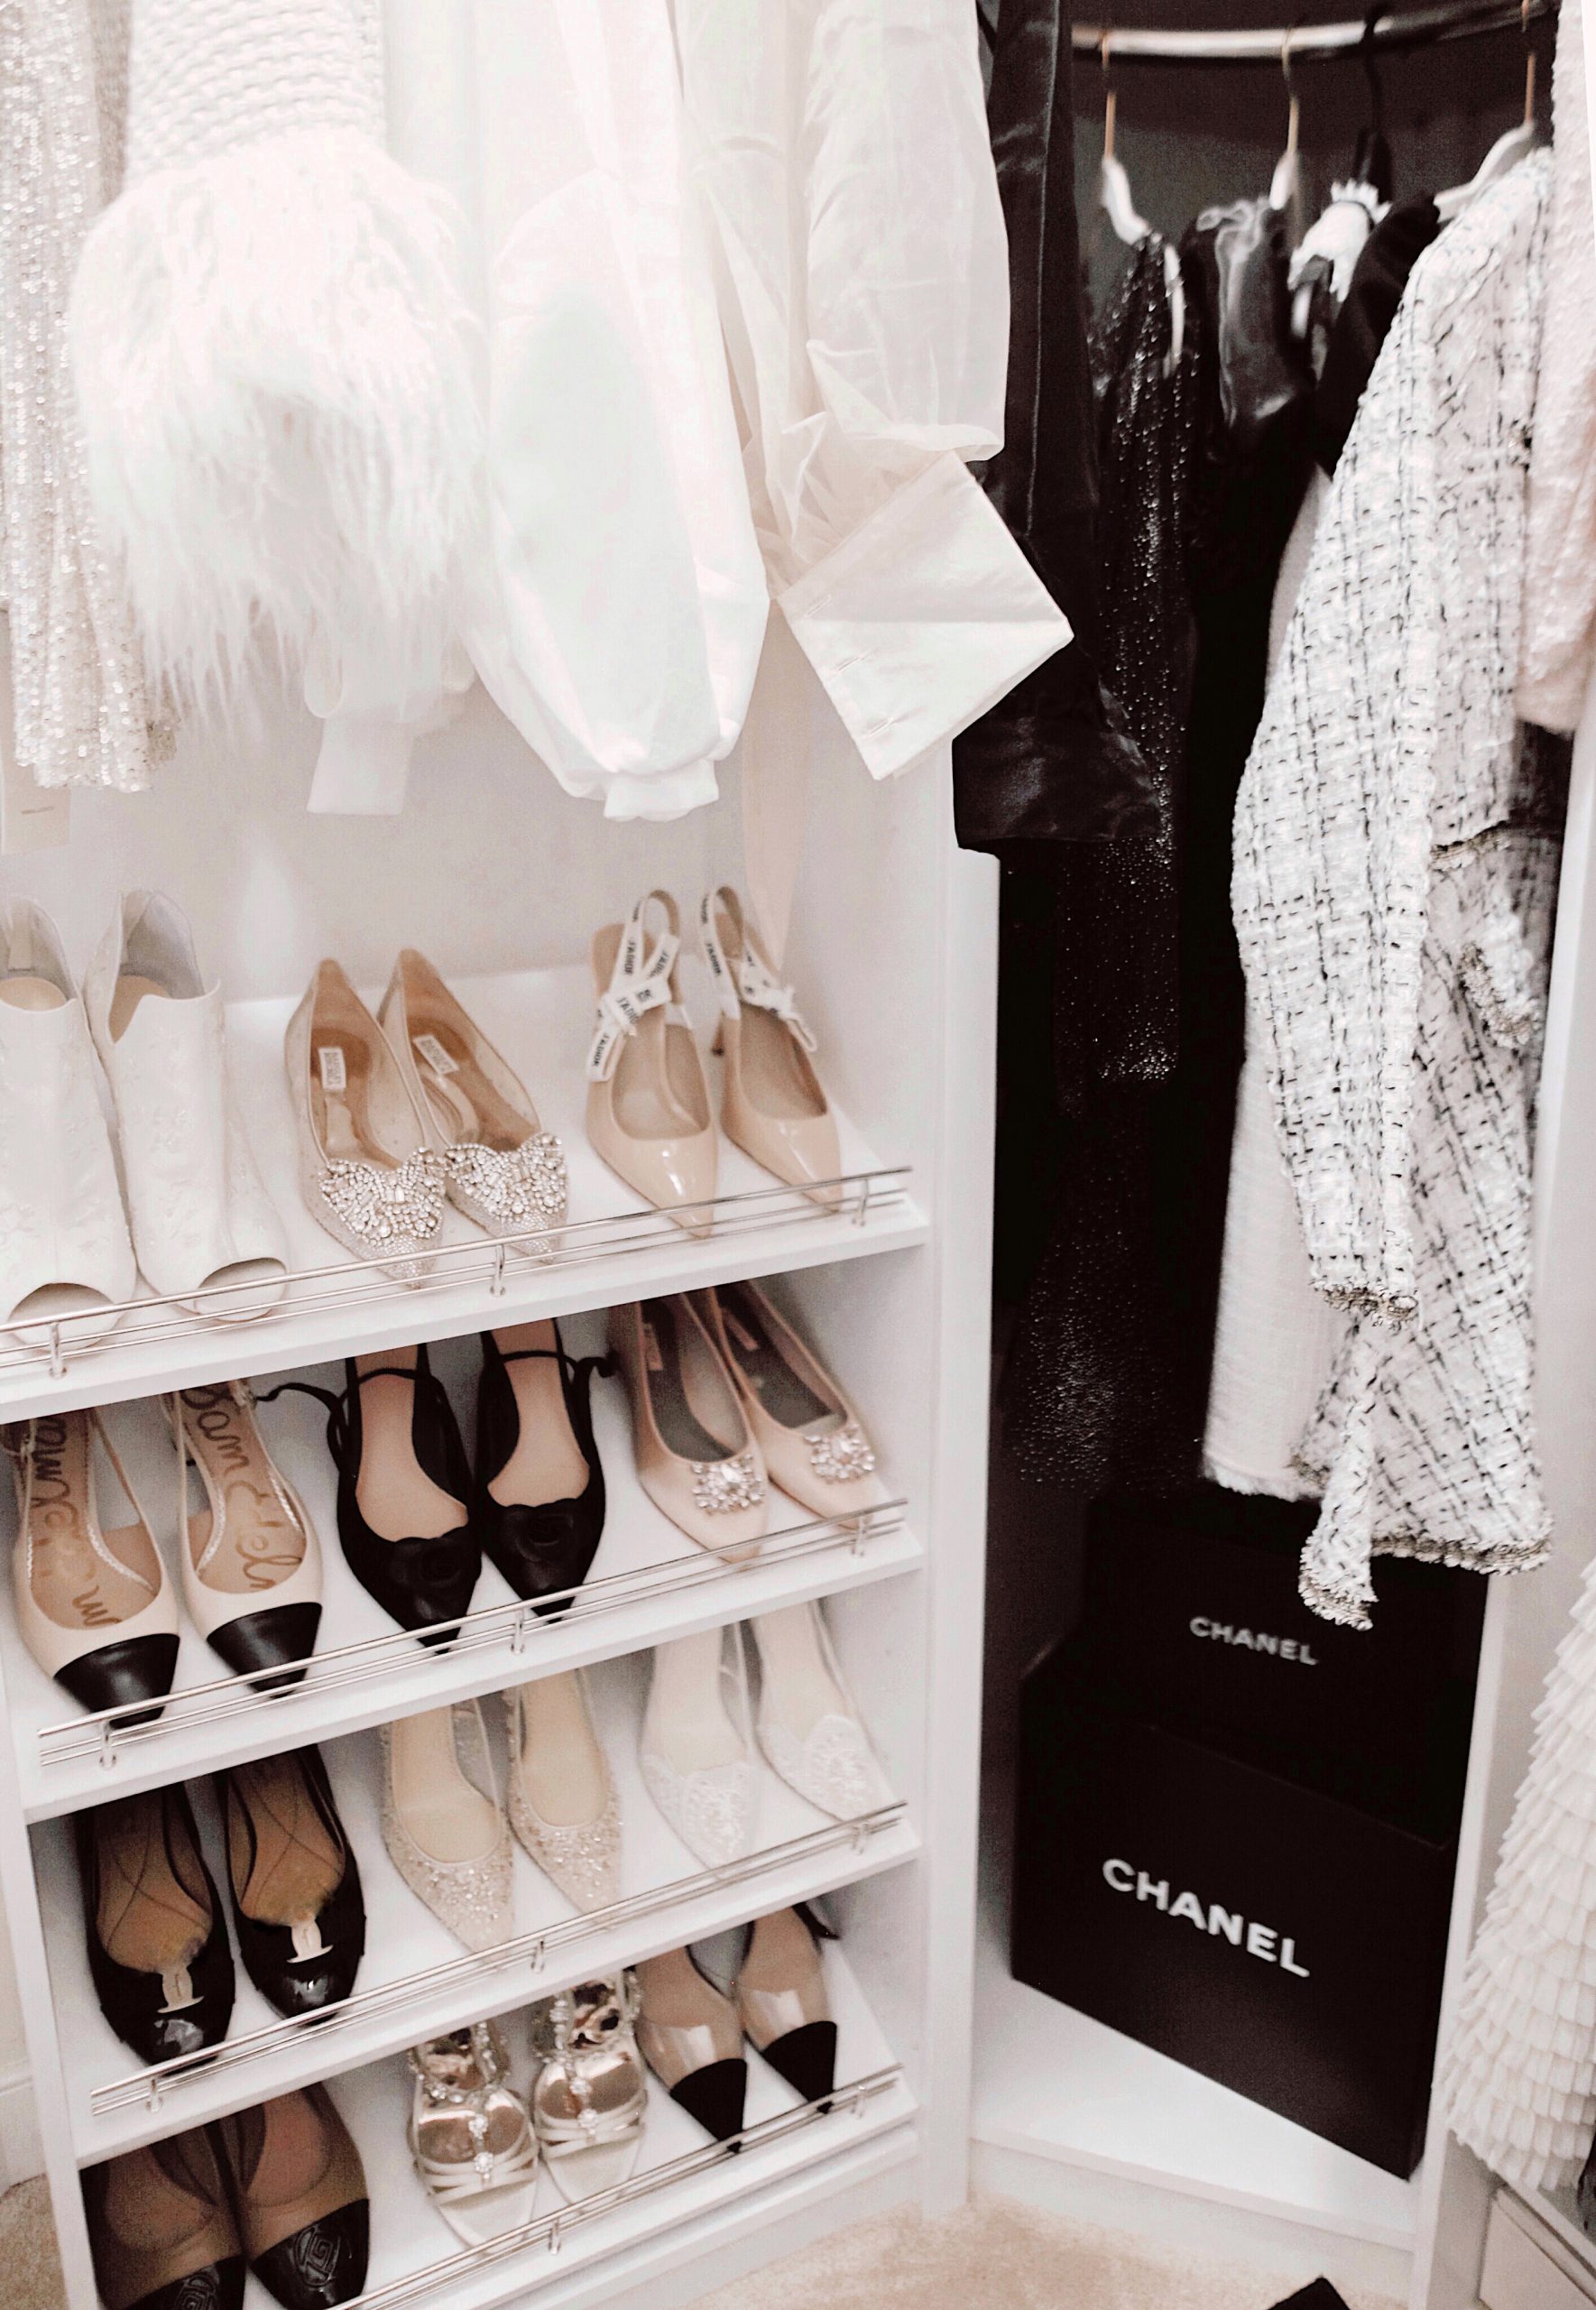
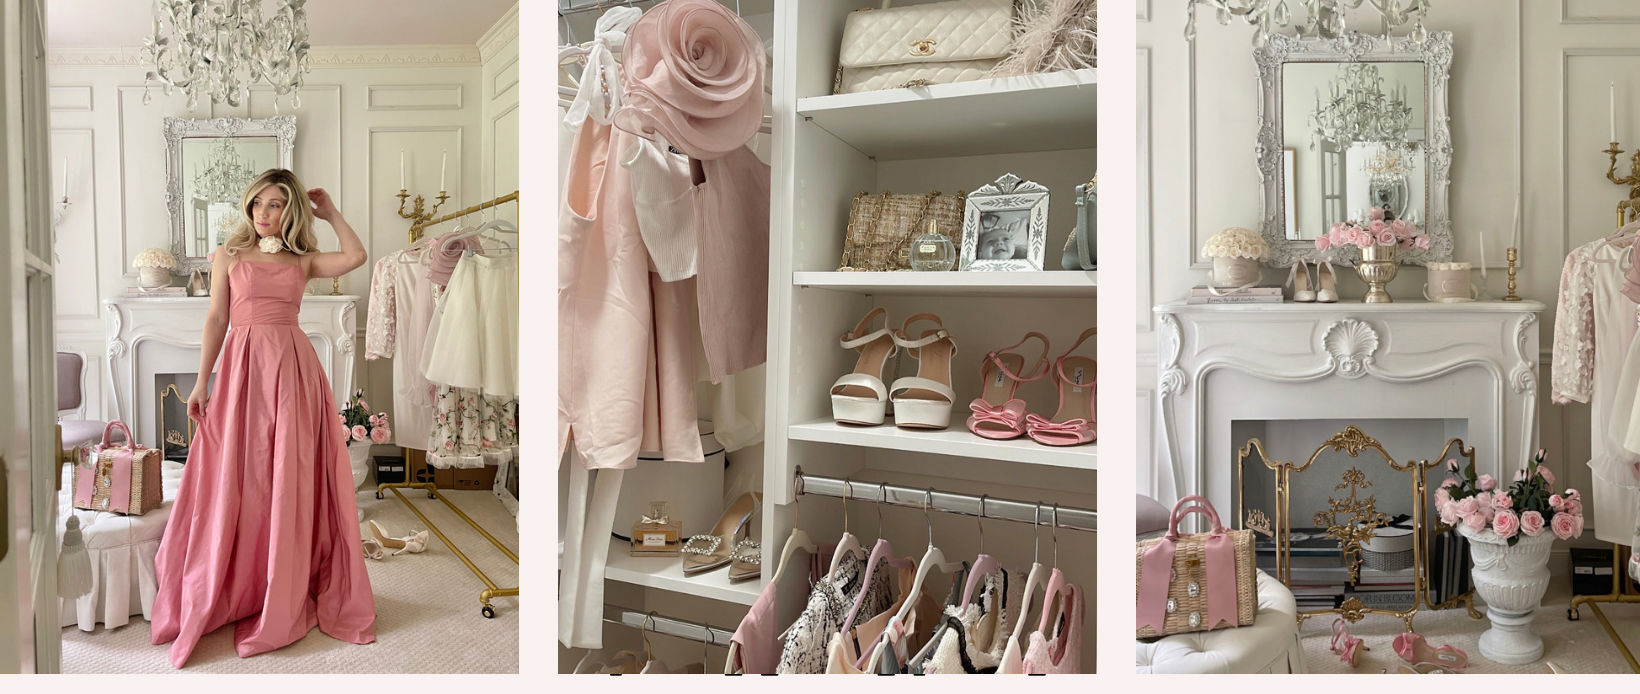
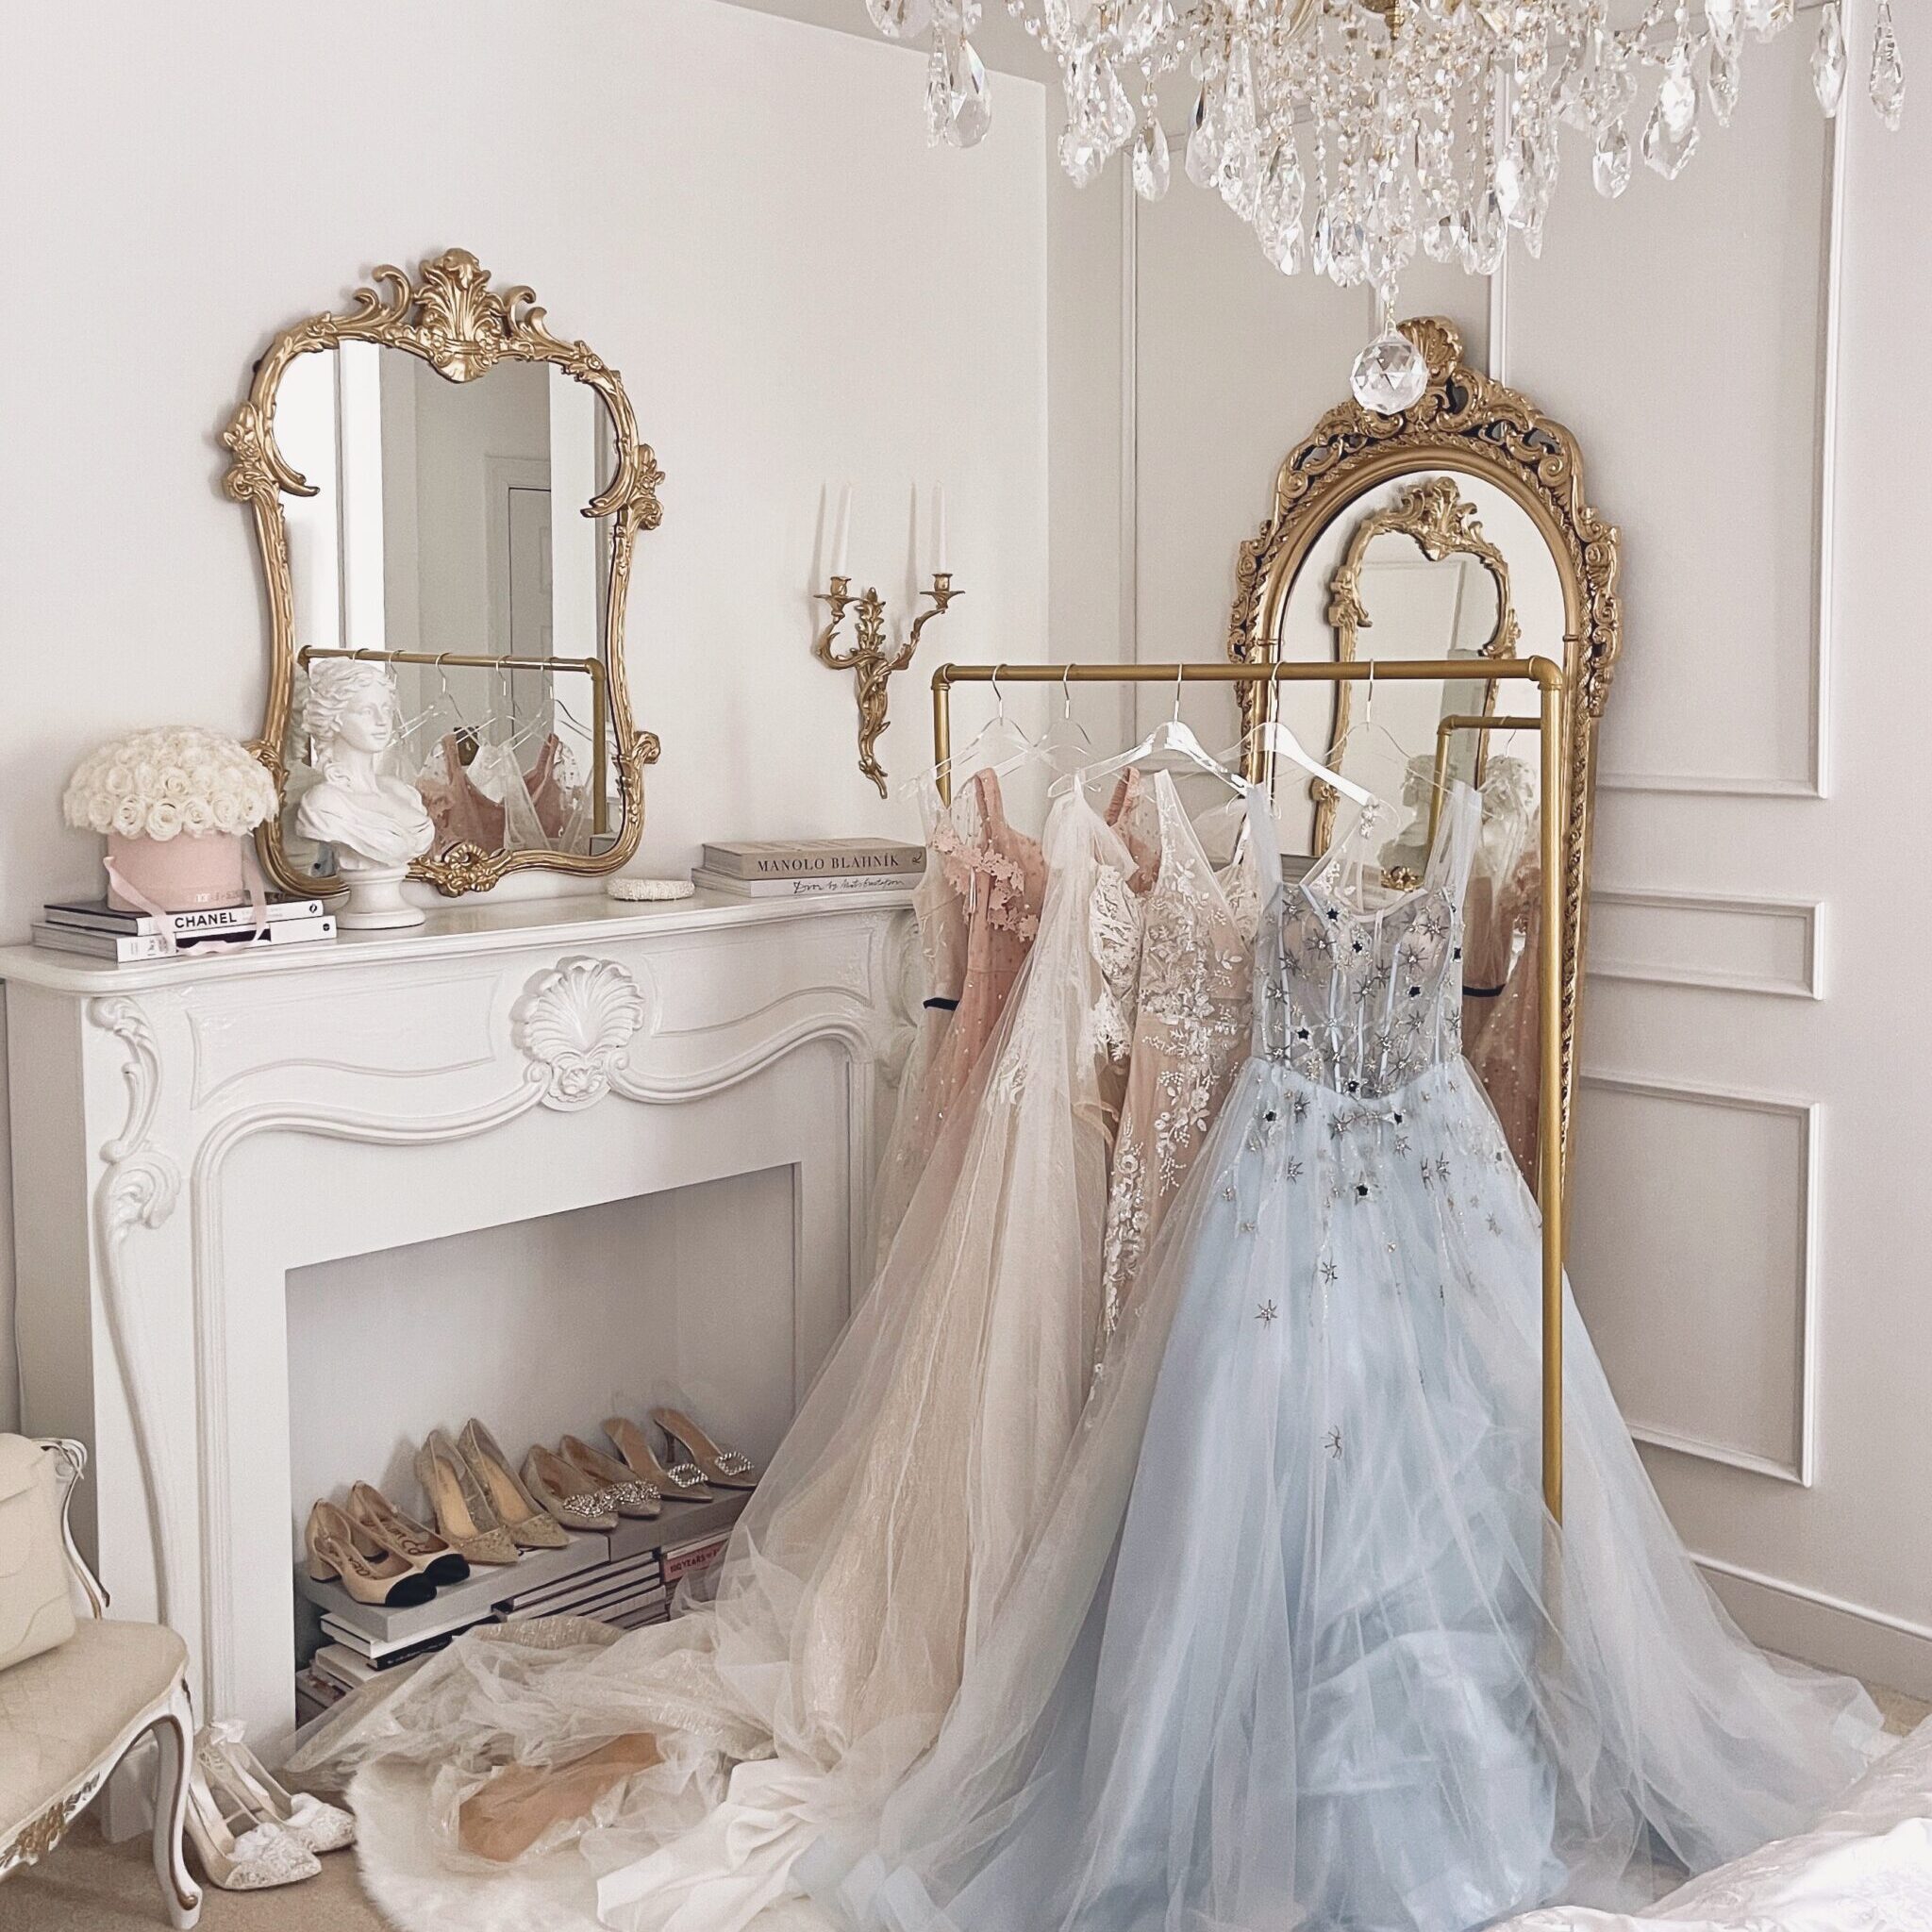
What better time is there than now to work on a closet makeover? The funny thing is that I was already in the process of making this happen before the quarantine days took over.
My days have only become more demanding since the start of coronavirus as I have my 3 little ones to take care of and my husband’s, thankfully still working.
Even though I don’t necessarily have more time than normal to work on a project like this, I can tell you it was a very welcome distraction from all that is going on.
The Motivation
There was a lot of motivation to do this for me because the two walk in closets that came with our master suite barely met my needs. And I know I say MY, that’s because my husbands wardrobe just didn’t stand a chance at occupying either of these closets lol sorry not sorry.
I have one before photo for you. I wish I could show you both closets but I completely forgot to take photos of both before the process began. So in the one photo you will see it looks pretty stuffed and that’s because I moved some items from the other closet into this one before emptying both out completely.
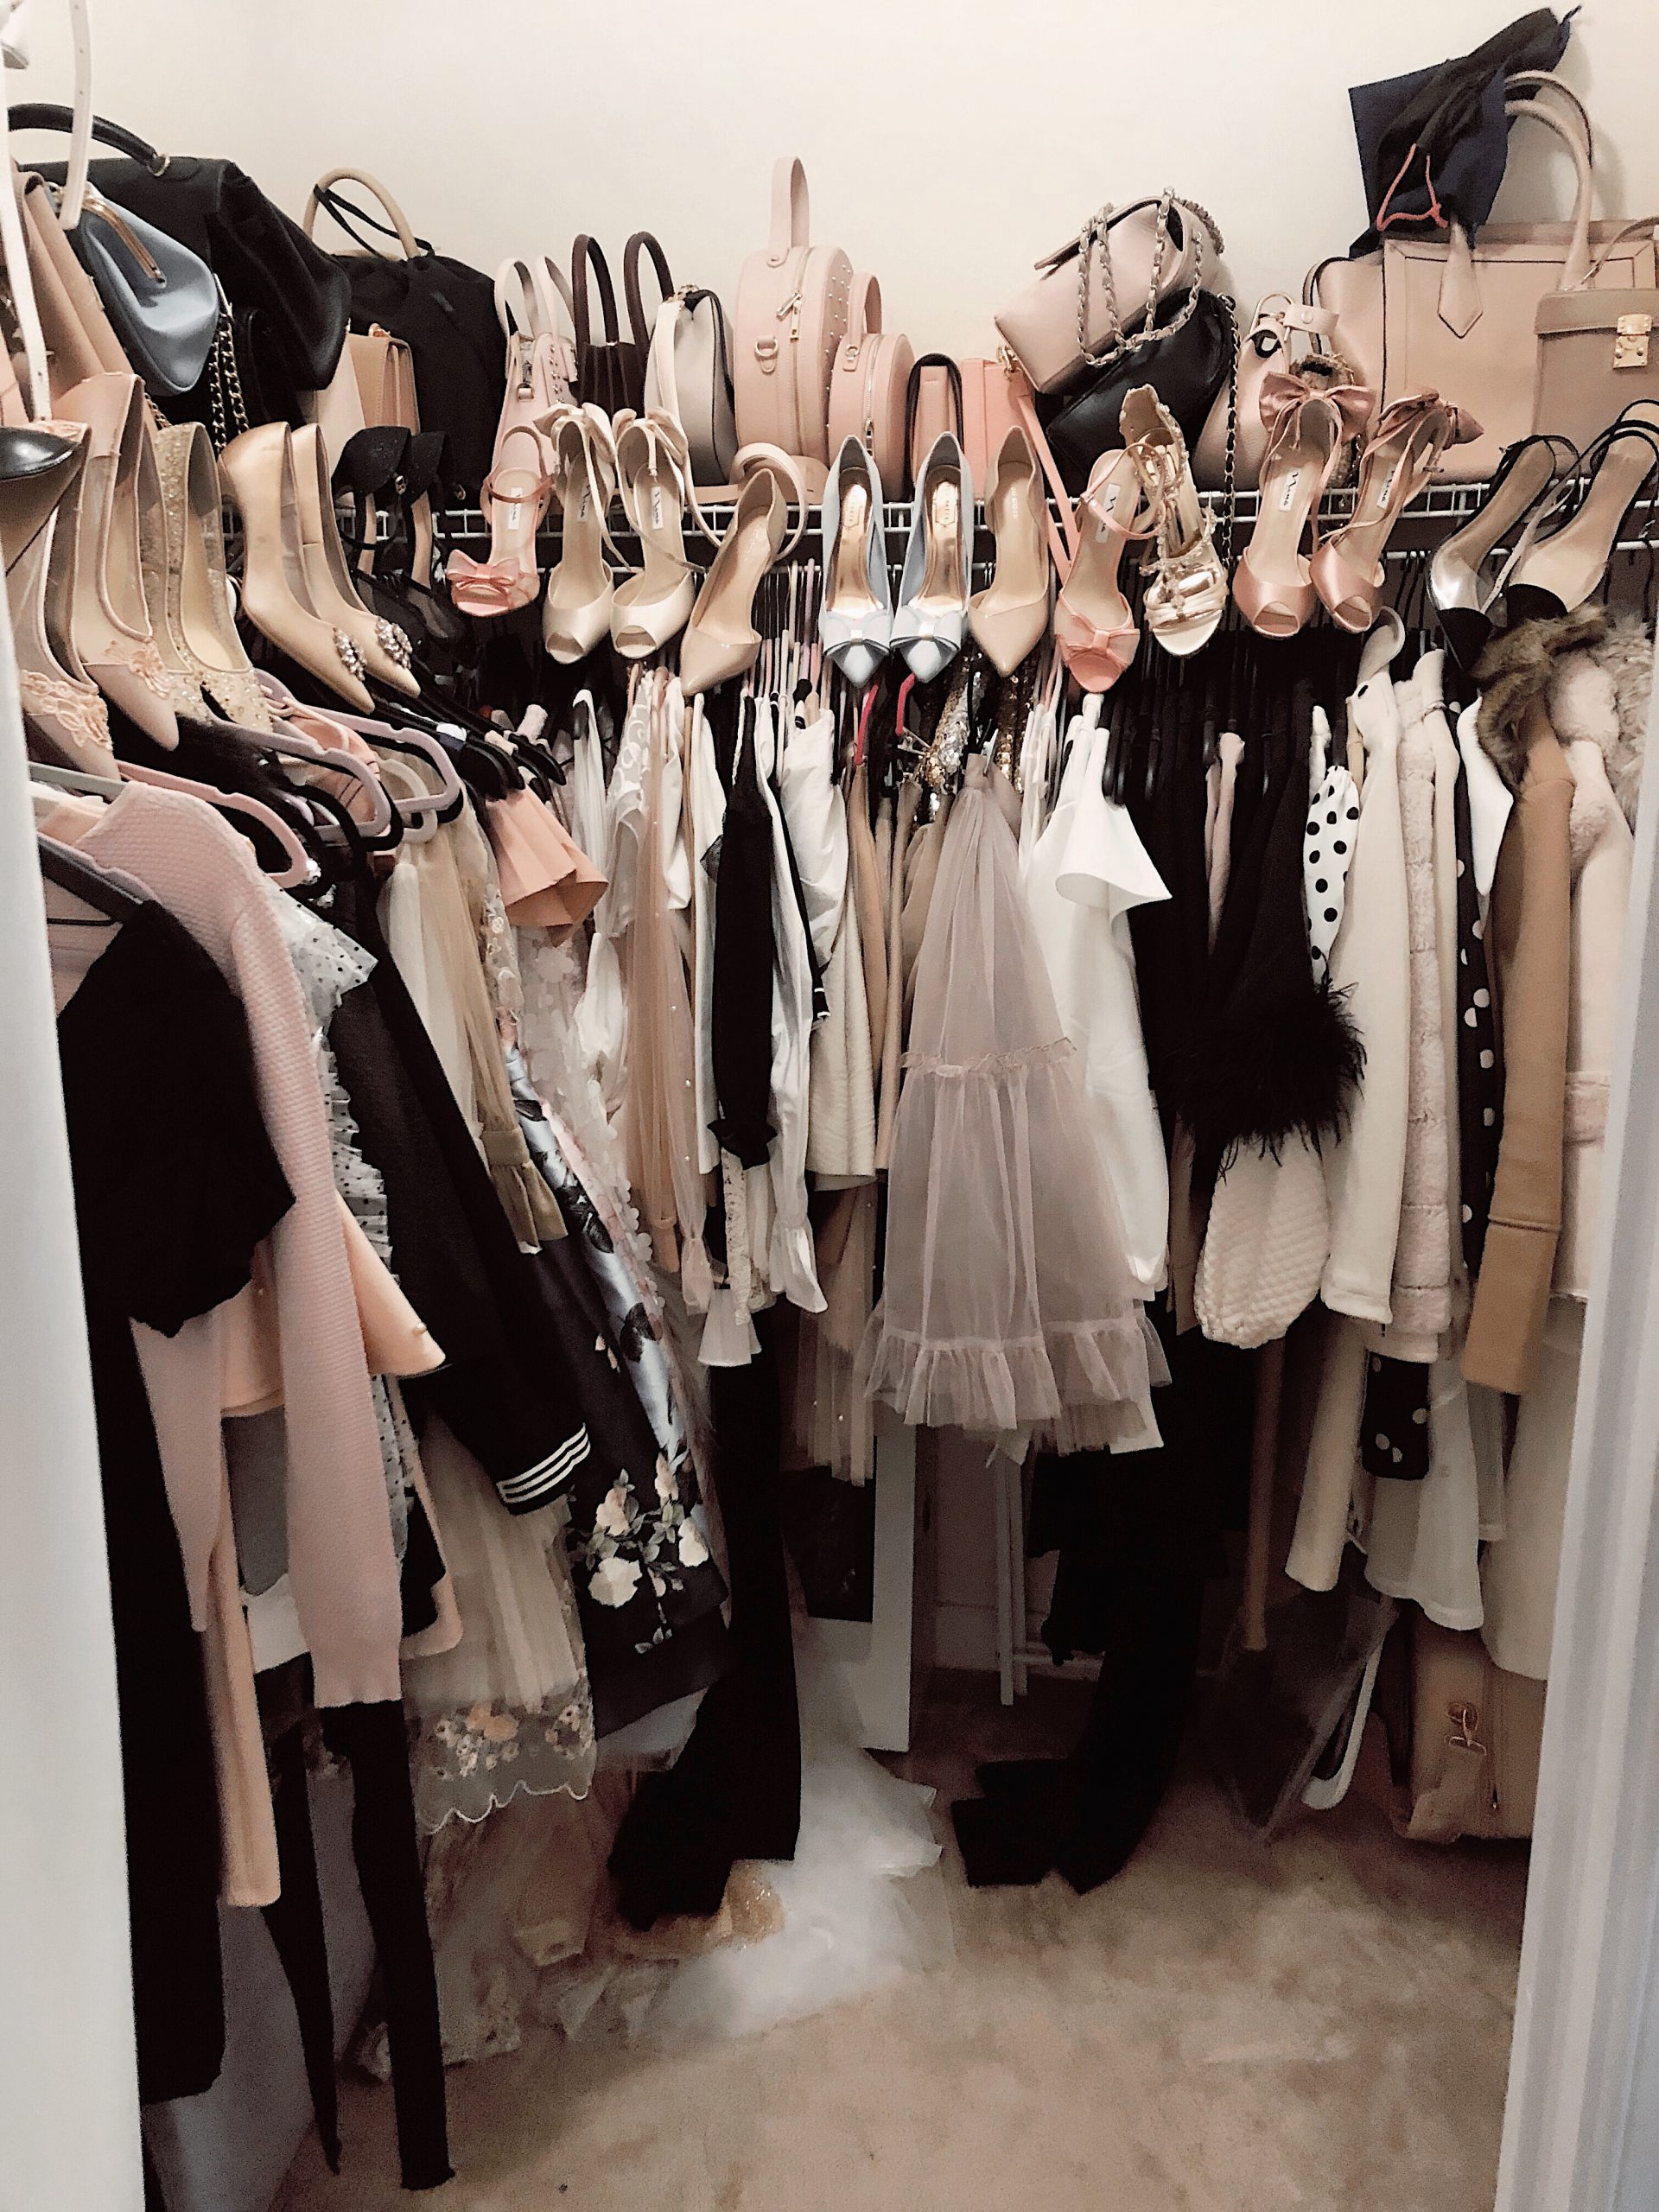
The closets before feature a L shaped wire rack and a basic pole for the clothing. Most of the time I would find that any clothing I would hang on the shorter end of the rack would just fall off to the floor. And the purses that I would put on the top rack would also constantly fall down to floor. It was just so frustrating and after nearly two years it had to change.
Why this closet system?
My ideal closet setup would have a lot of designated storage for my purses and shoes with the ability to fit just as much or more clothing than I had before. These essentials of mine led me to an internet search where I found Closetmaid’s storage systems. What intrigued me most about Closetmaid was the ability to completely customize my future closets with their Spacecreations line.
The first step of the design process was to measure every angle of the closets. Strangely enough the walk in closets that are supposed to be identical, slightly varied in their measurements.
After inputting the dimensions I was then able to select the towers I wanted to put in each and what the purpose of each tower would be. I decided that each closet would have a different purpose. One closet would store more dresses and bags while the other would store tops, skirts blazers and shoes.


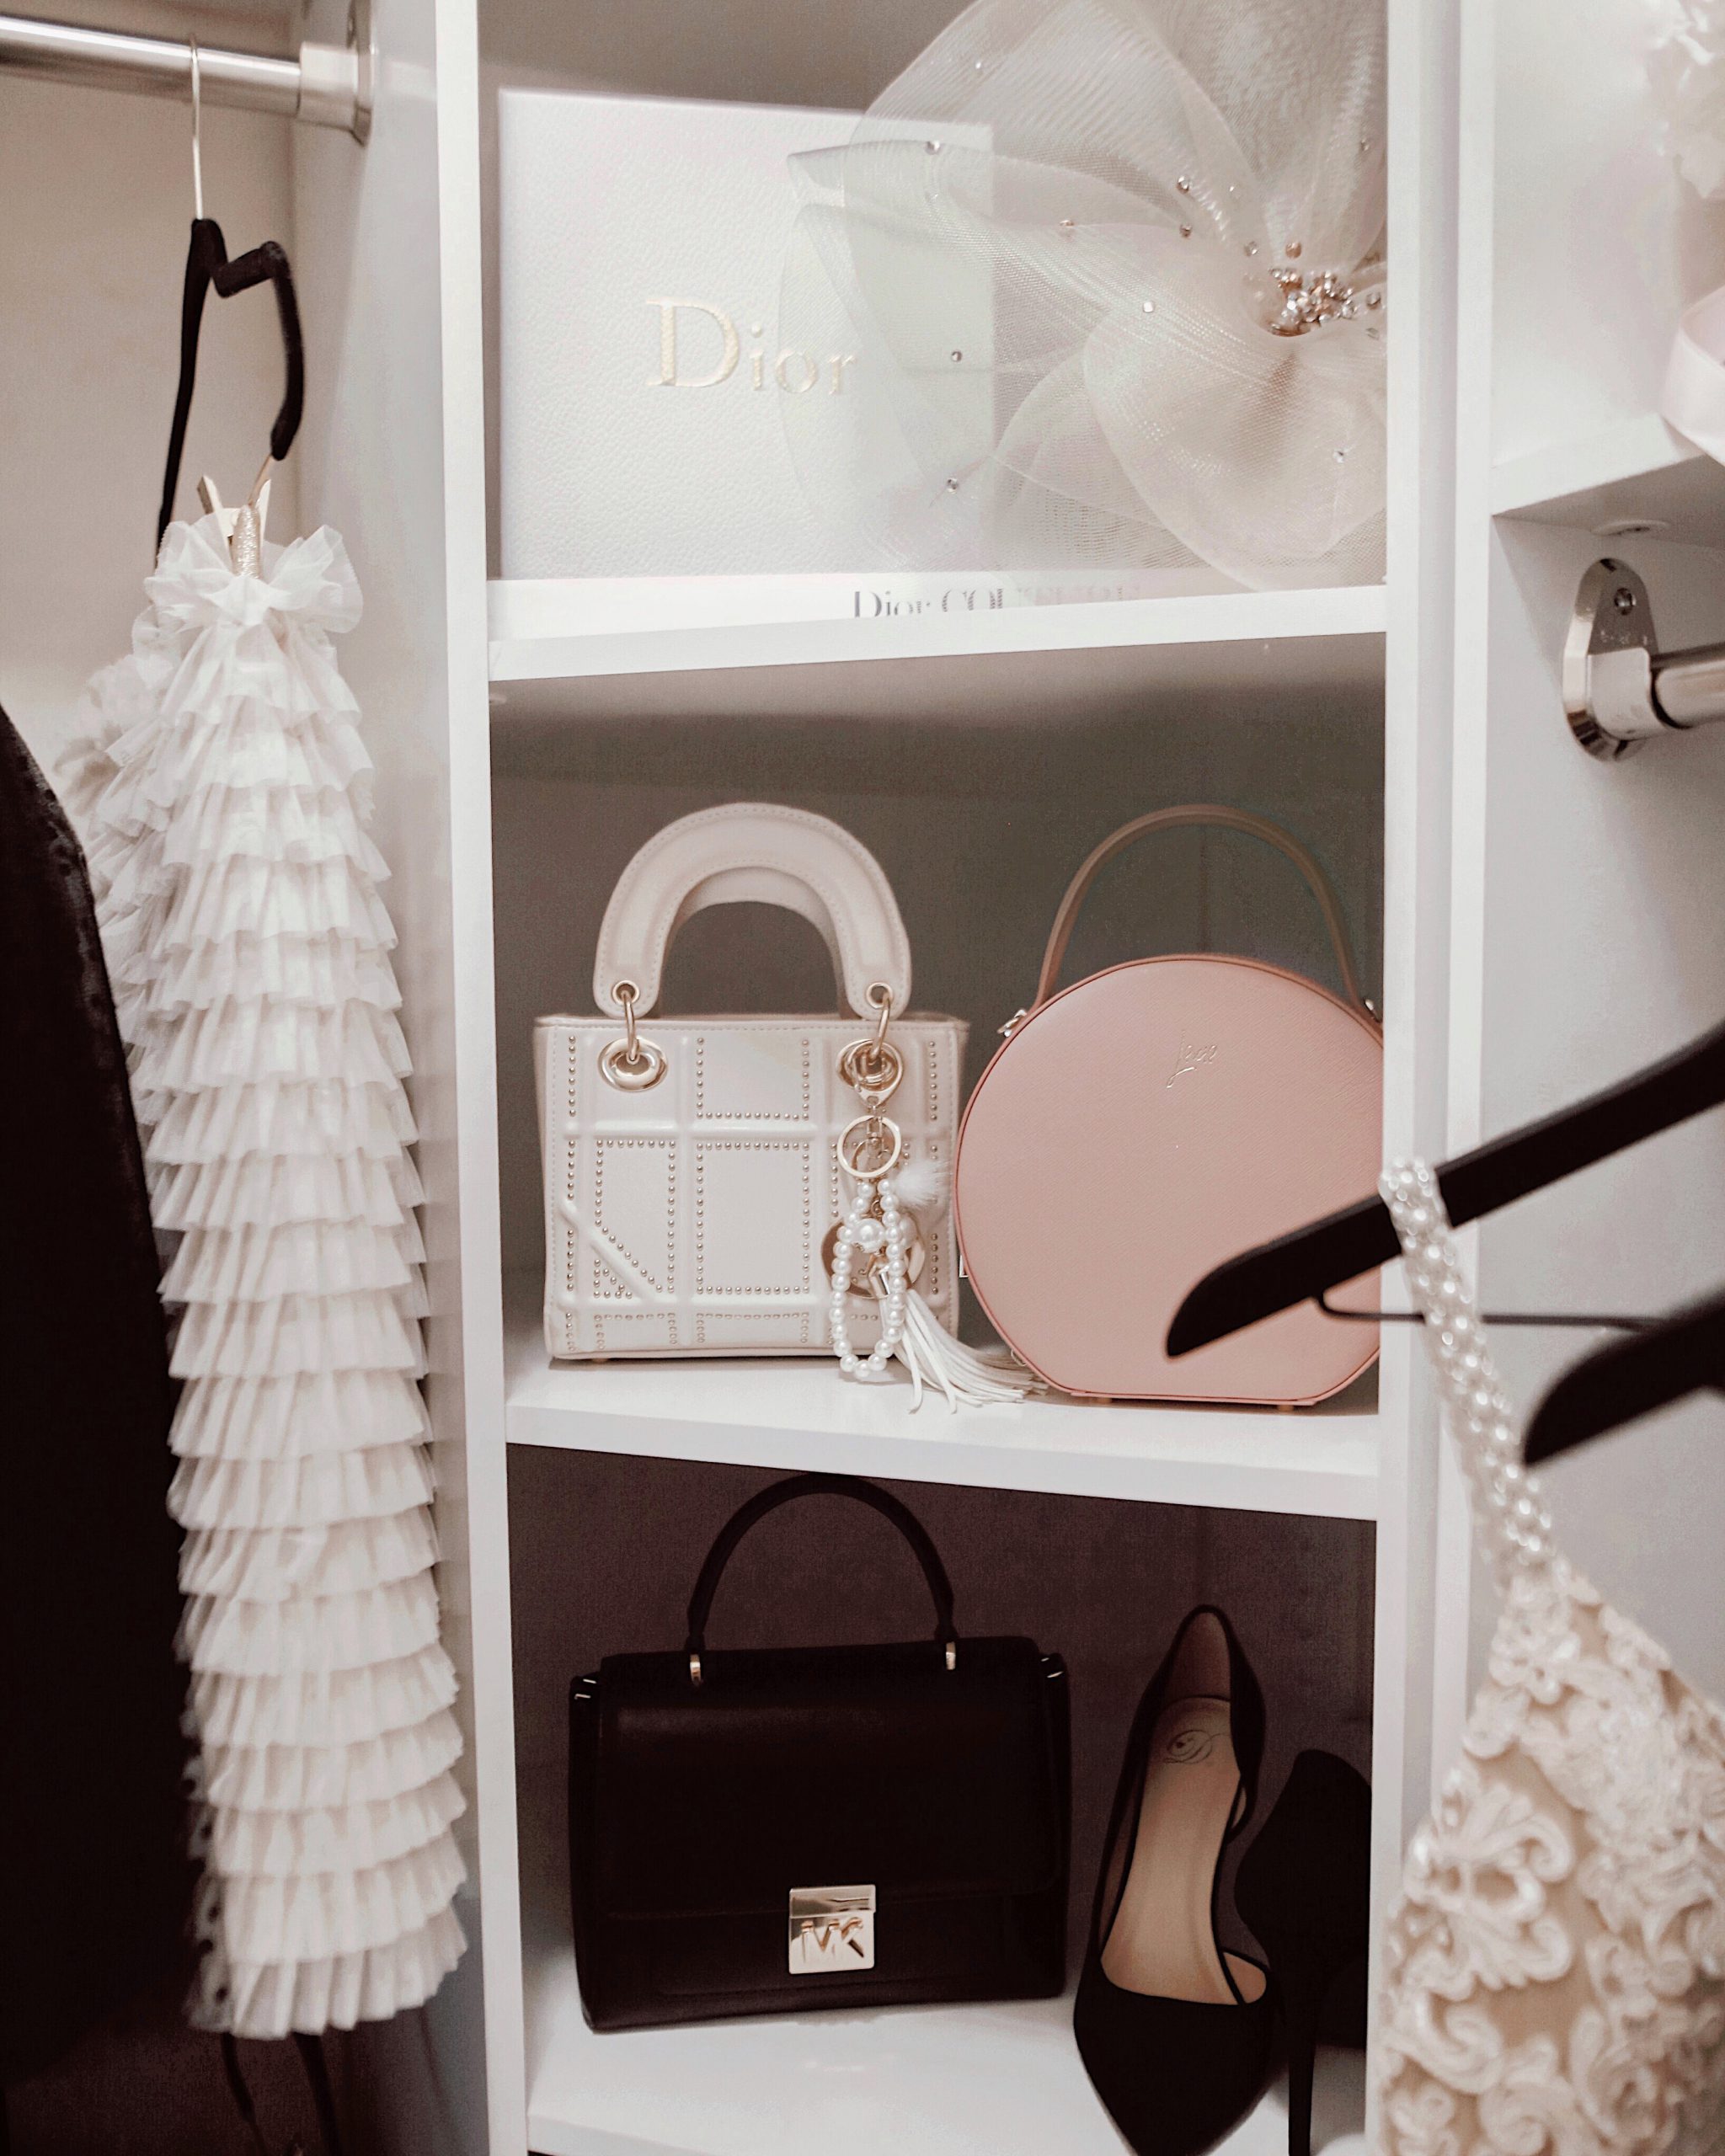
One of my favorite options in Spacecreations was the corner tower. The corners of both of my closets before the makeover were a complete waste of space. They couldn’t store or fit anything. The new design would allow me to convert one corner into a large shelving system which would also allow me to fit a numerous amount of bags or anything else that would be similar in size. In the other closets corner I opted for a corner clothing rack pole which again gave me hanging space that I didn’t have before.
I also loved being able to add a single shelf above the designated hanging spaces allowing for even more storage room.
The process
Even if you find yourself to be quite handy, I suggest you get help. My husband helped me pretty much with the entire setup process, I can only take credit for the designing and styling lol.
Just look below. I didn’t want to handle all of THAT by my self lol Reading the directions was essential to putting this together and I am one of those people that like to just go all in before reading anything.
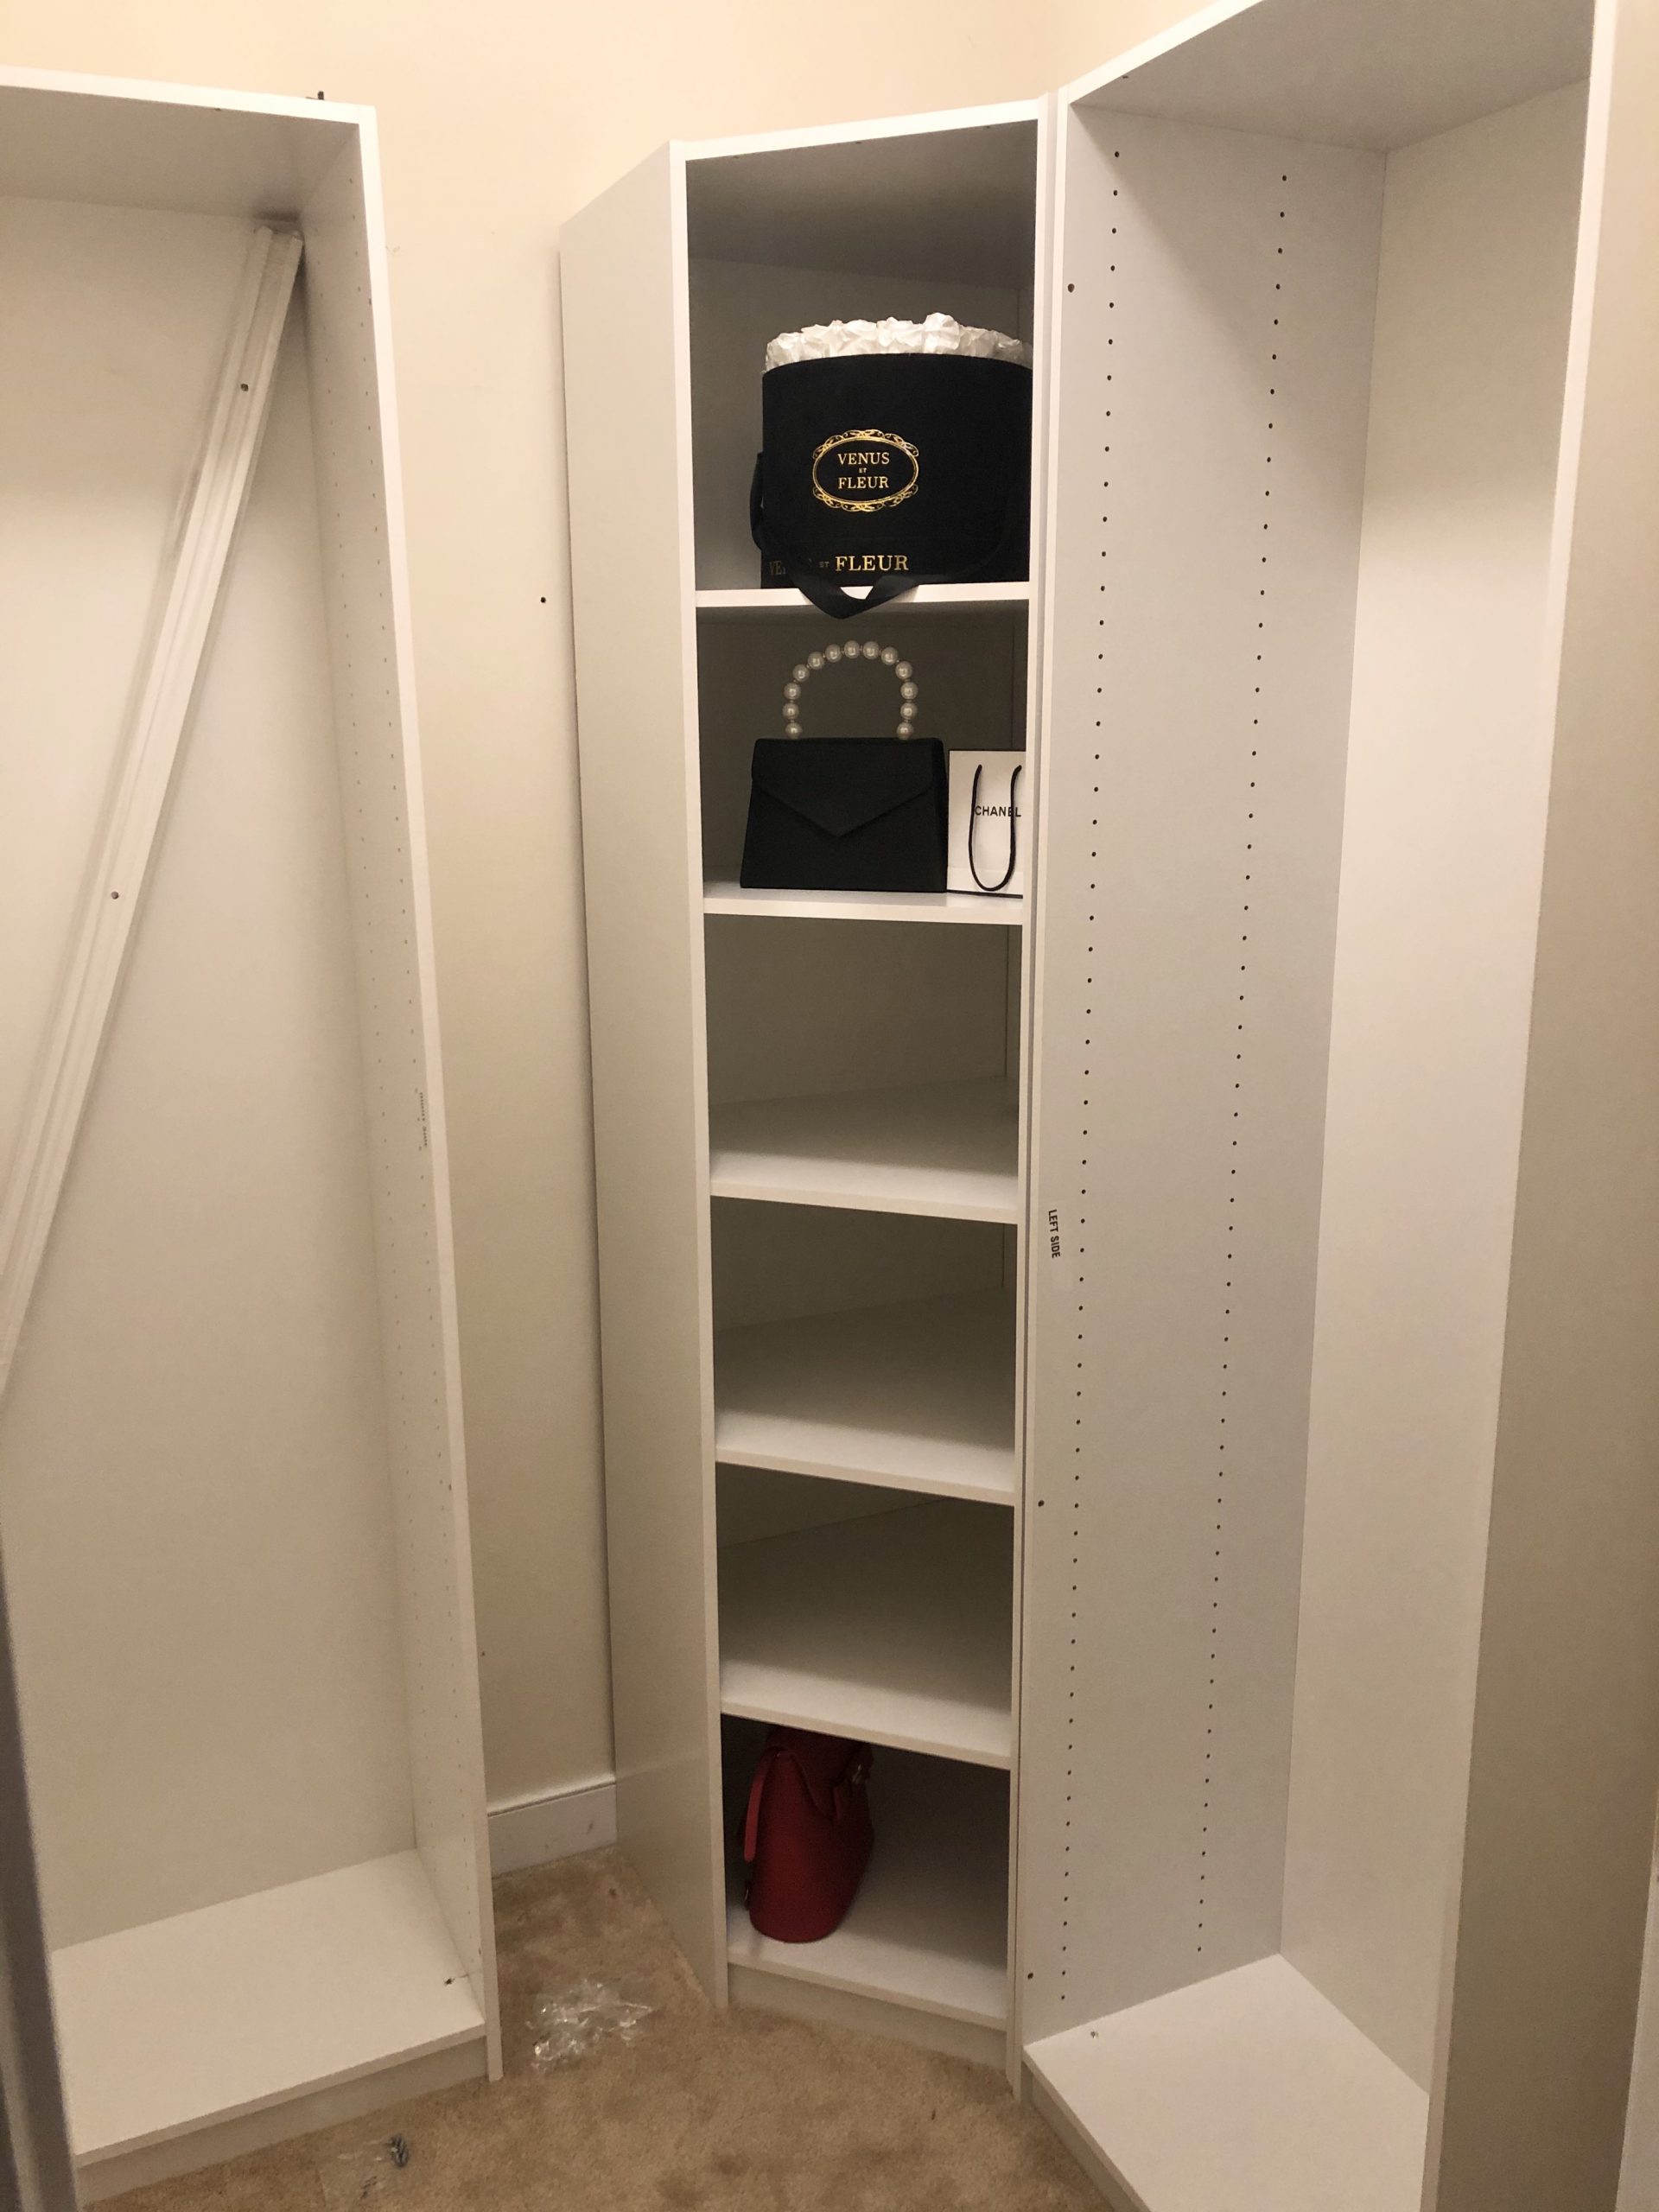
During the installation you can also continue to make little customizations to the design.
What we found along the way is that we wanted to make some changes here and there and since the pieces are all so versatile we were able to add for example, more hanging space instead of shoe shelves in one area.
Another thing we adjusted, the corner tower with shelves originally was supposed to have 6 and we decided to go with 5. This allowed me to fit larger bags which of course, is a necessity.
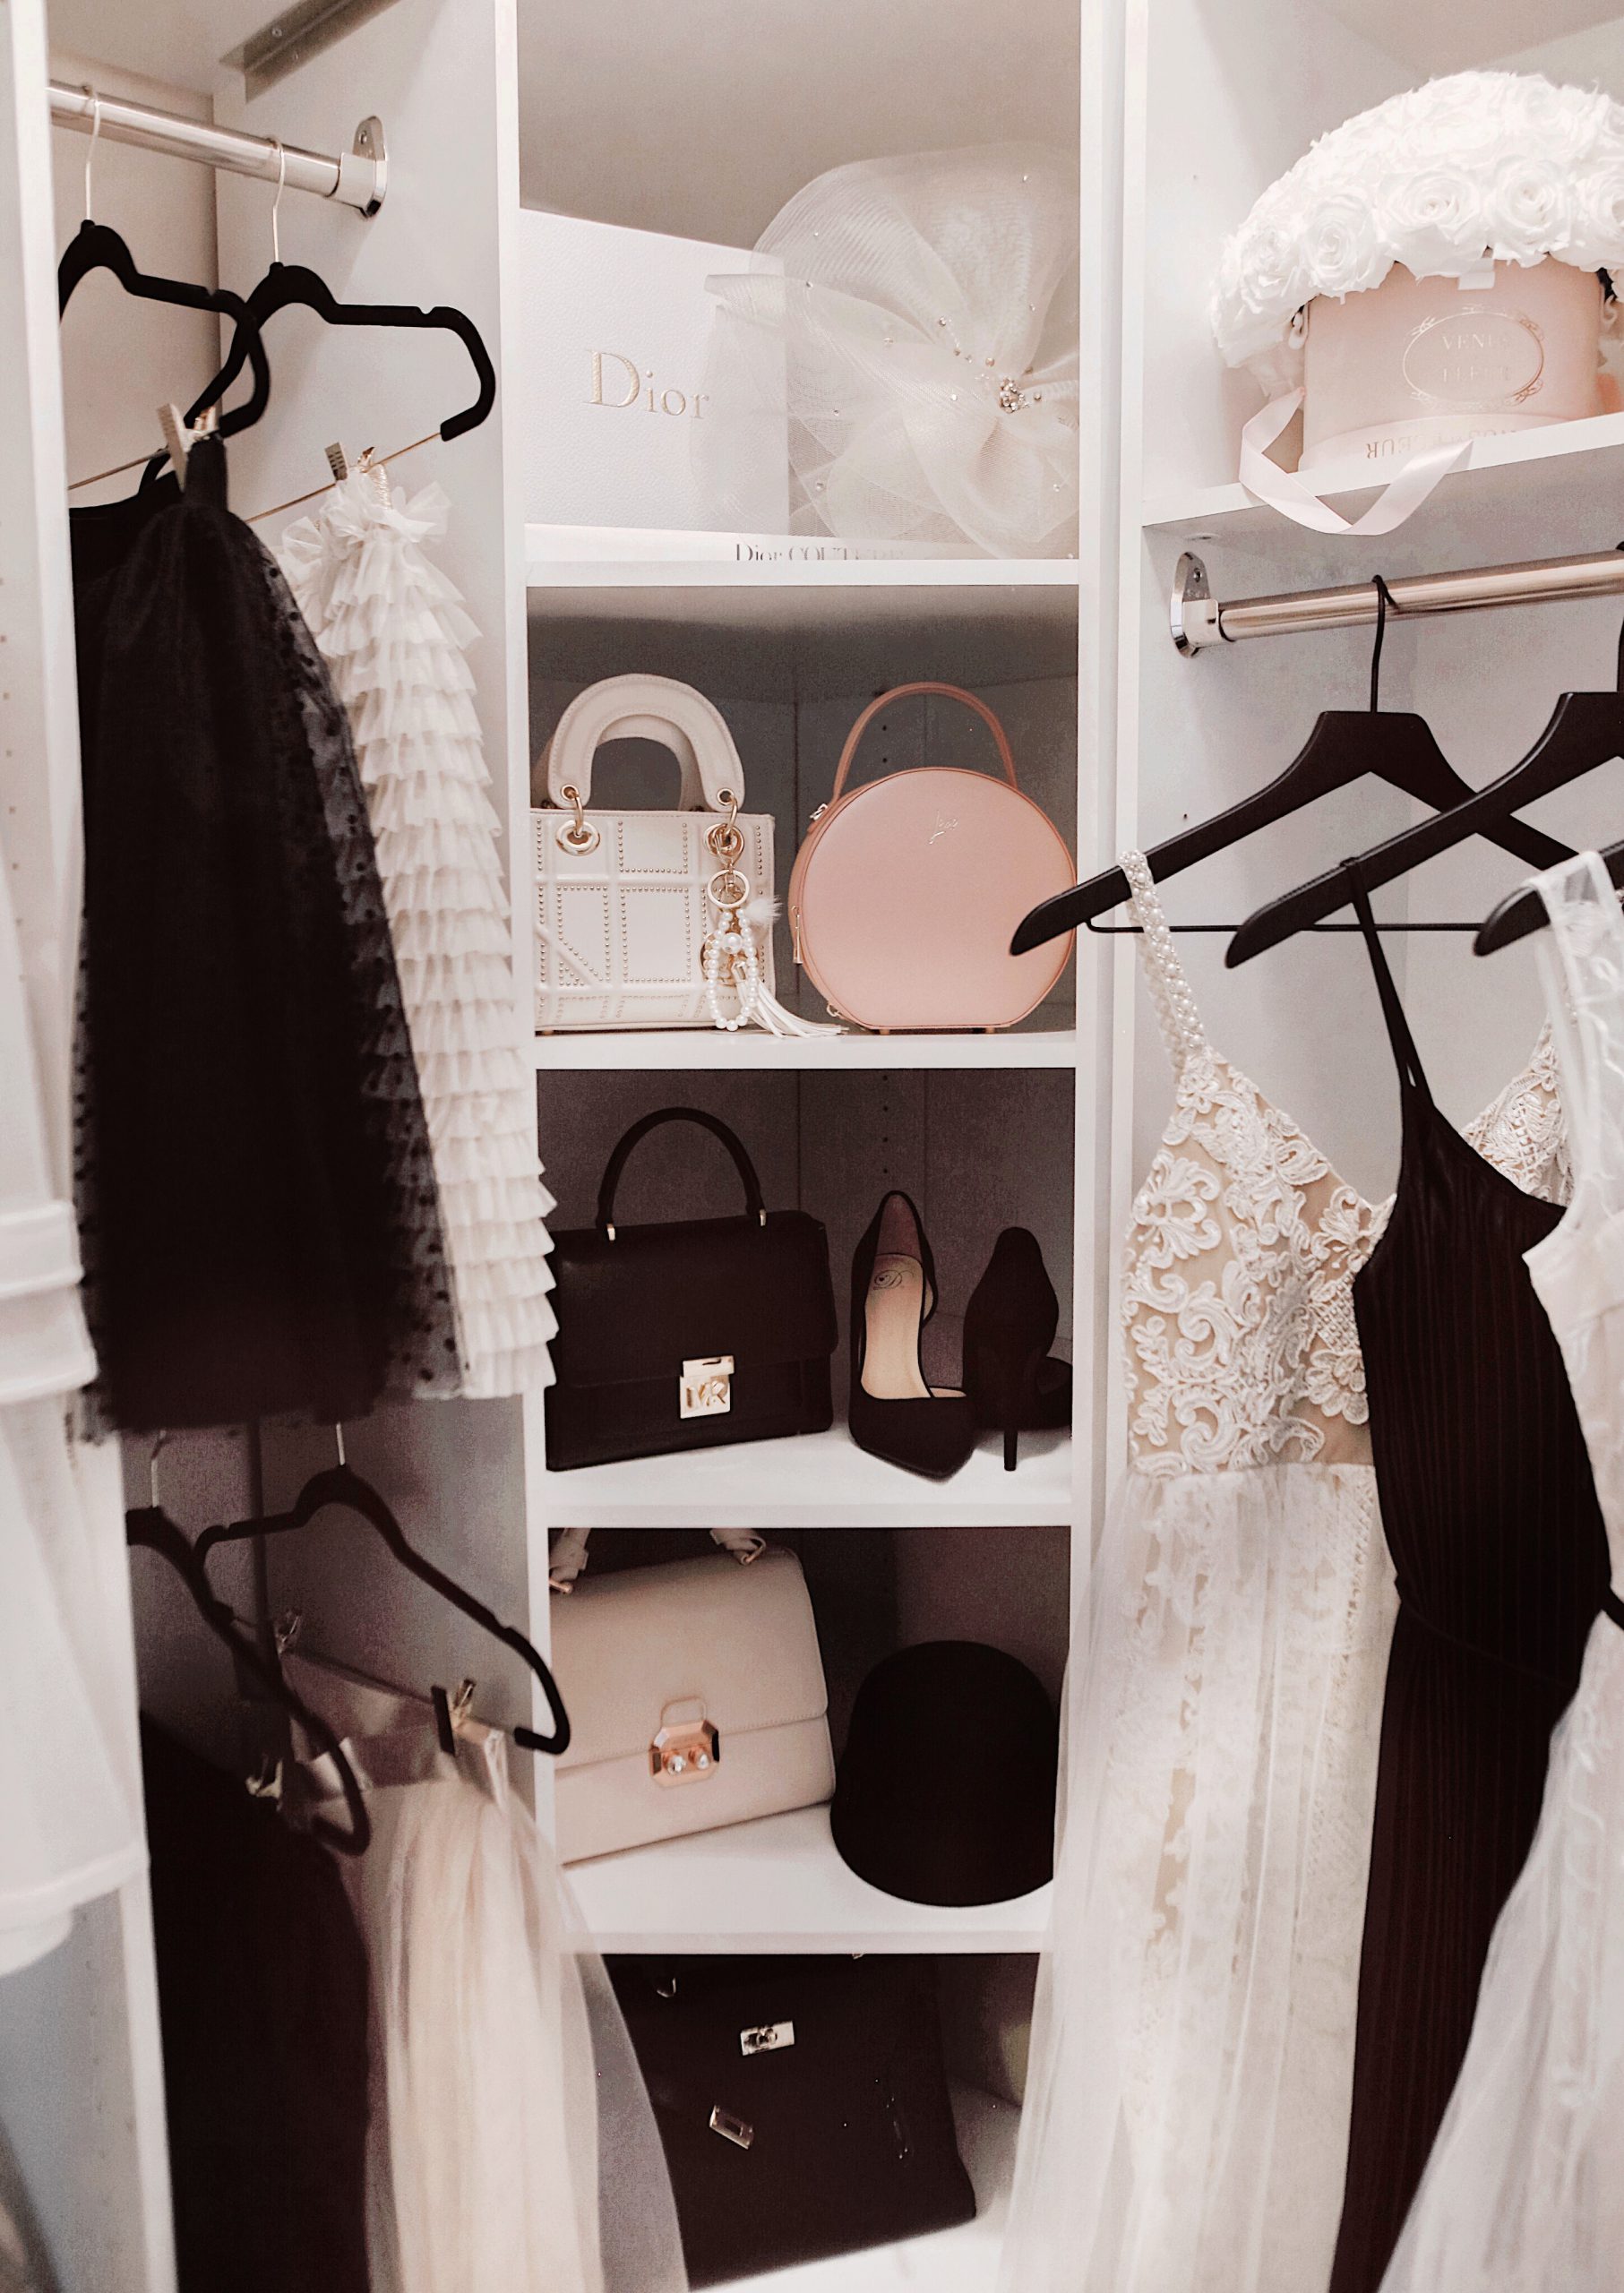
The extra corner shelf went into the other closet’s corner tower. The original design for that was to have just the hanging rod. By adding the shelf here, it gave me even more options for storage and I think visually made the tower more appealing.
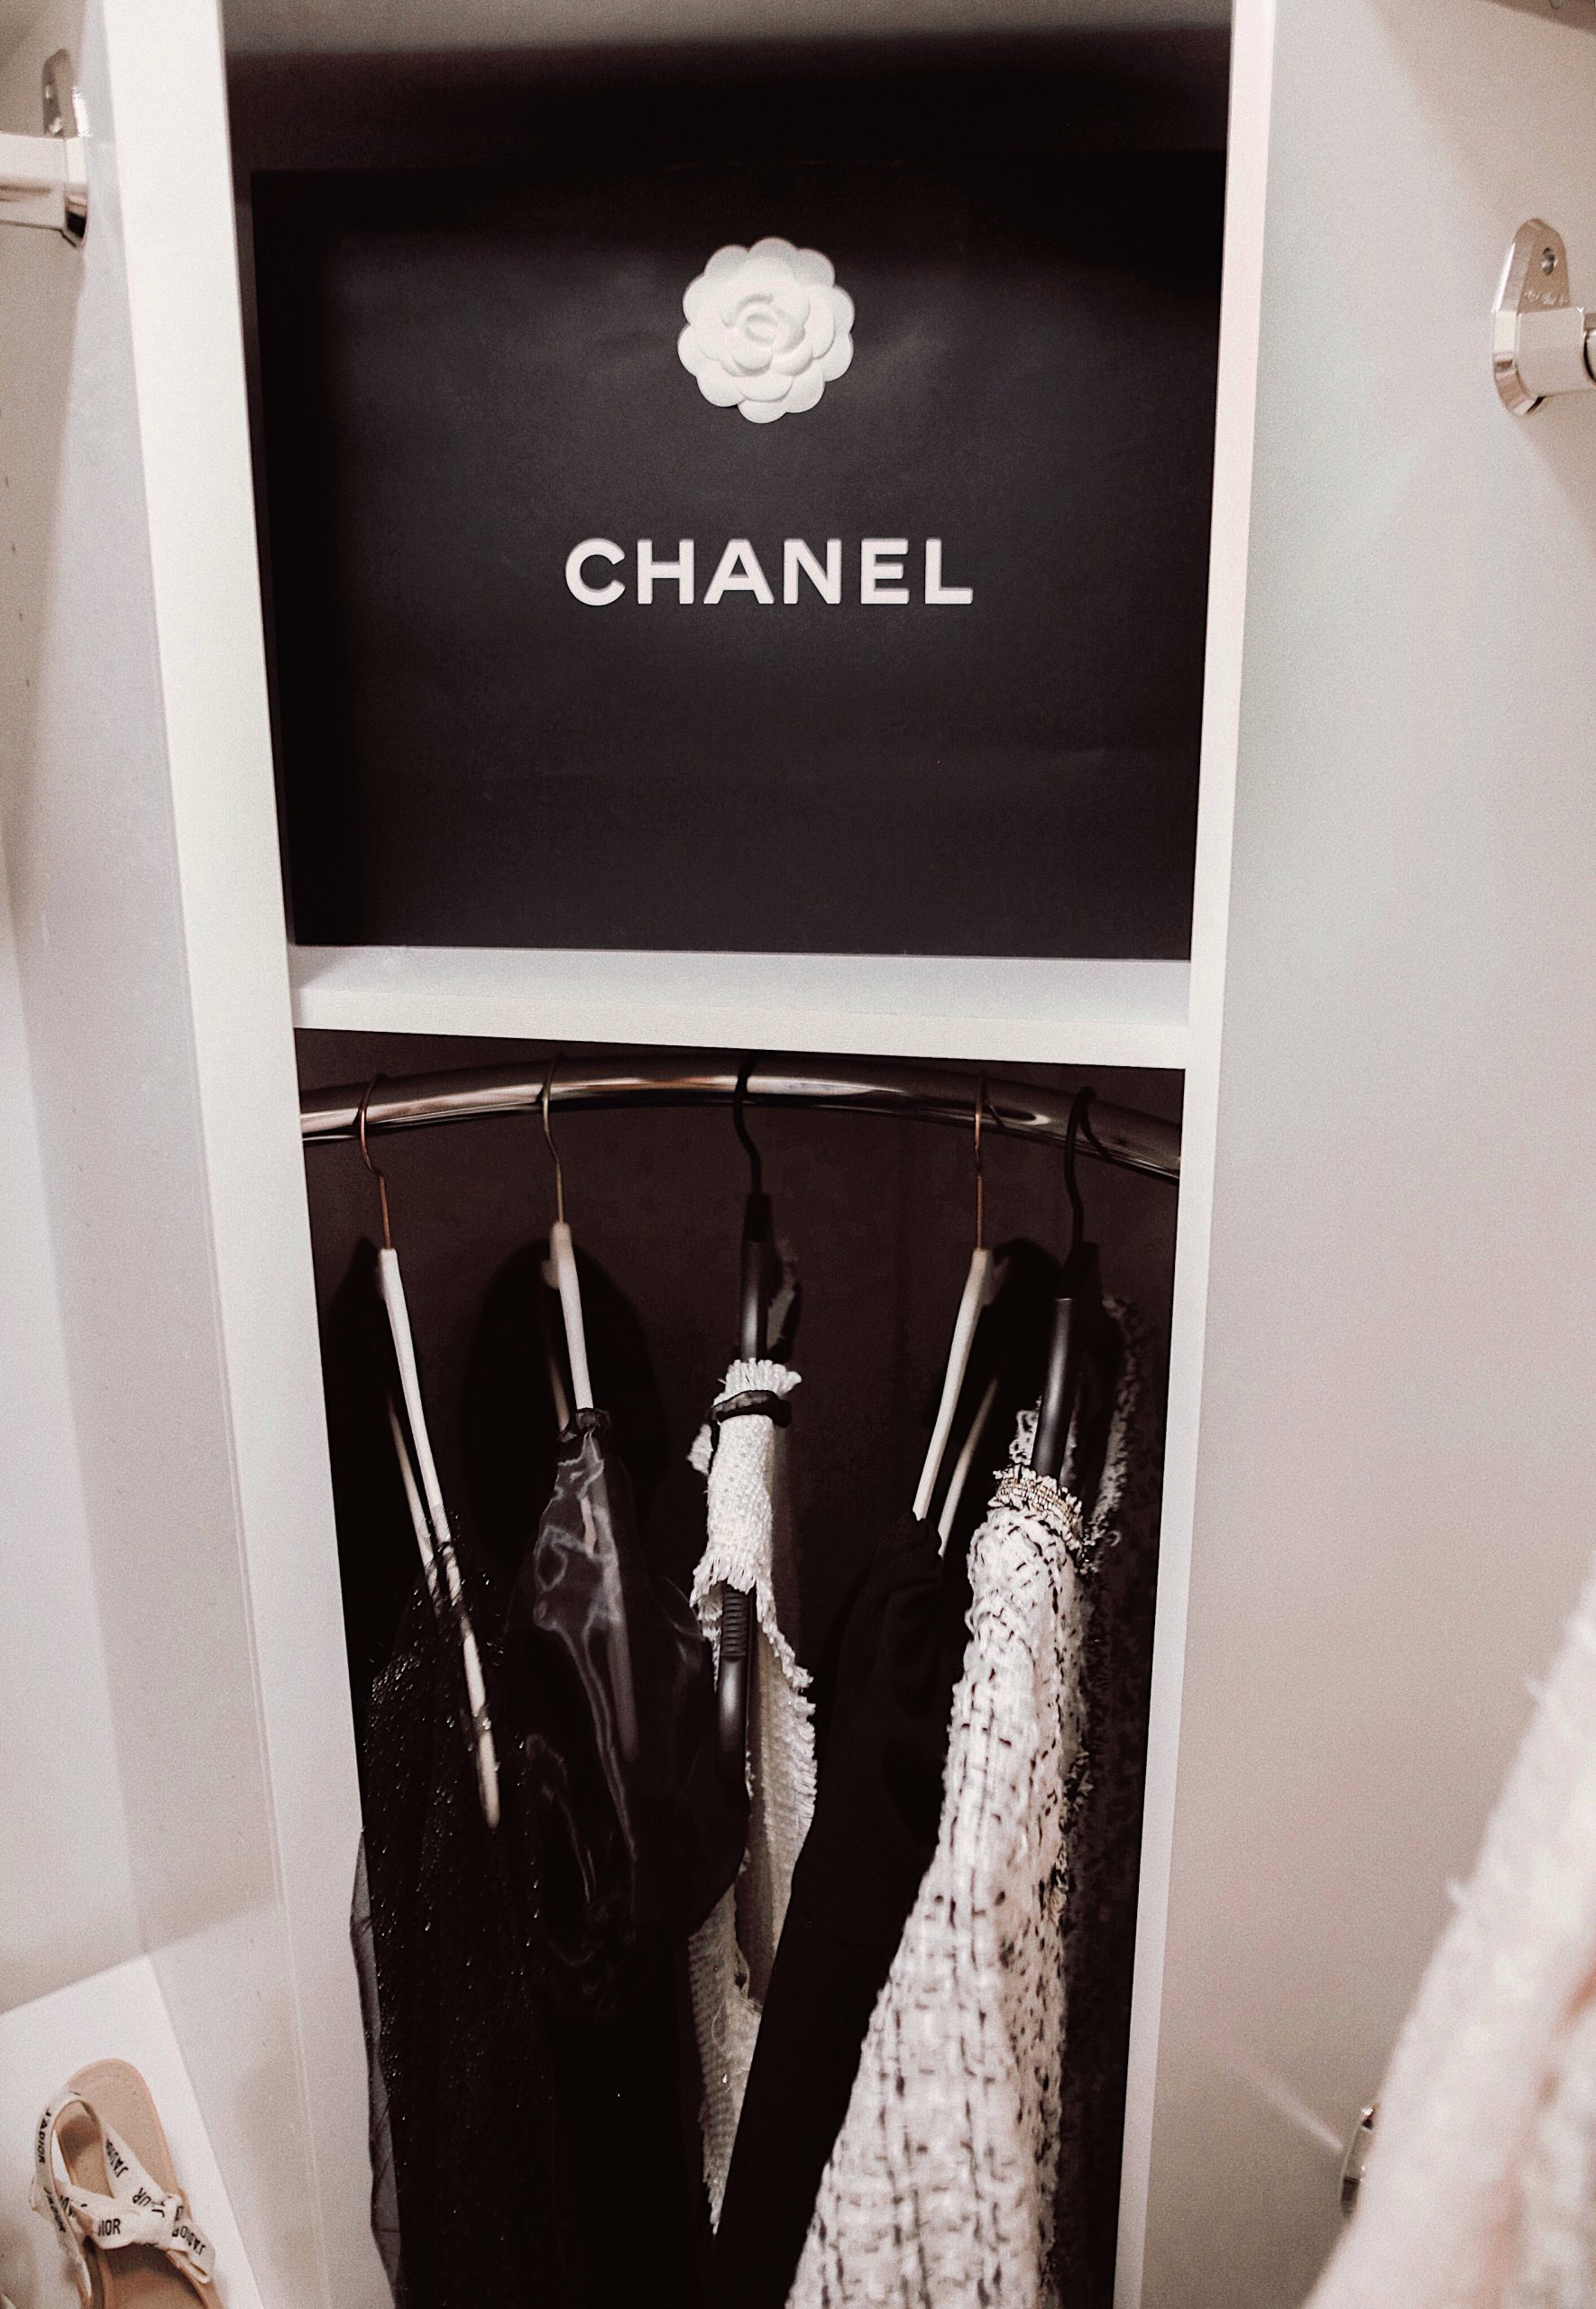
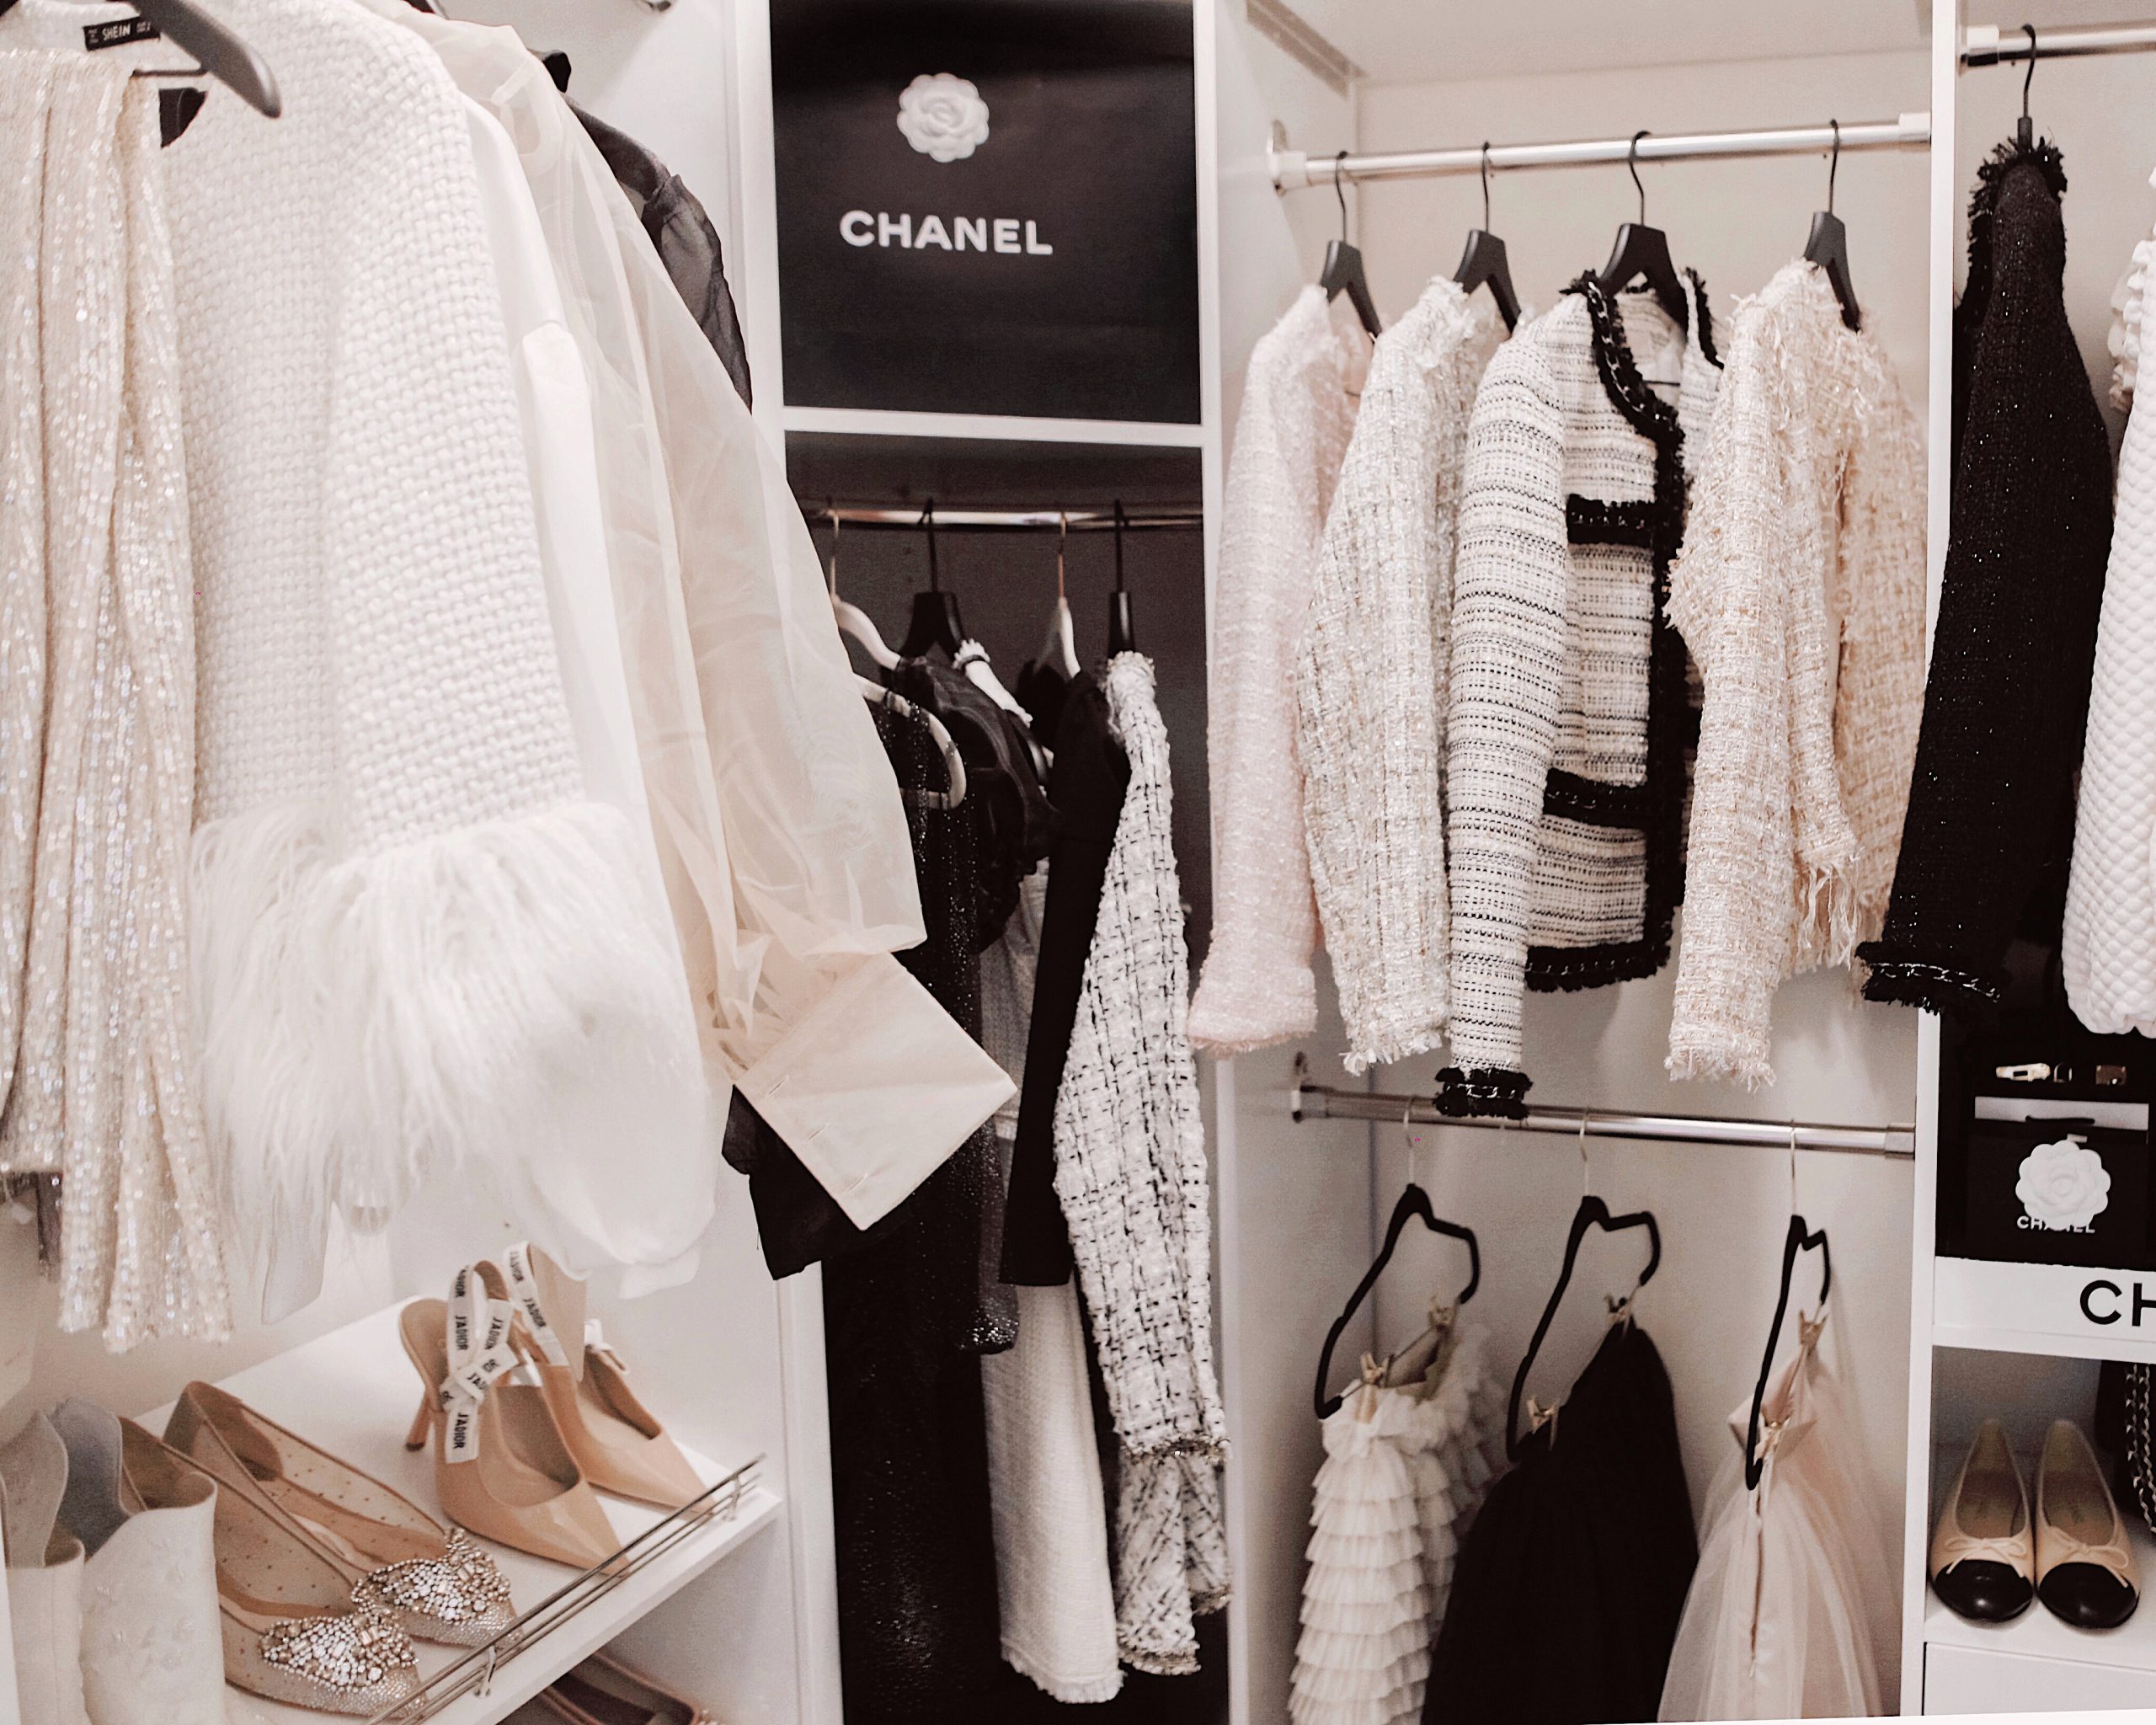
It’s one thing to design online and a whole other thing in person. So during the process you may find that you would prefer to make minor changes as well that will better suit your closet needs.
Another thing I can say is that the shelves and shoe racks are very simple to adjust and move around. Installing the clothing rack poles isn’t so bad either.
Depending on your designs your installation may require a little more work like cutting poles and boards. This was what we did because of the small in between hanging spaces that I chose to add to our design. They’re not towers so they’ll need to be cut.
If you choose to have drawers just note that it is going to require a little patience as well but it is so worth it! The drawers have the feature where they will gently close on their own instead of slamming shut which I just love. Check my IG stories to see this tomorrow.
Final design inspiration
I really wanted the end result of the closets to have a high end boutique feel to them. I even switched out all of my velvet hangers ( well most of them) for black wood hangers. I felt that making that minor change brought me even closer to that high-end look I was going for.
The wood hangers I picked up from Target and you can find them here.
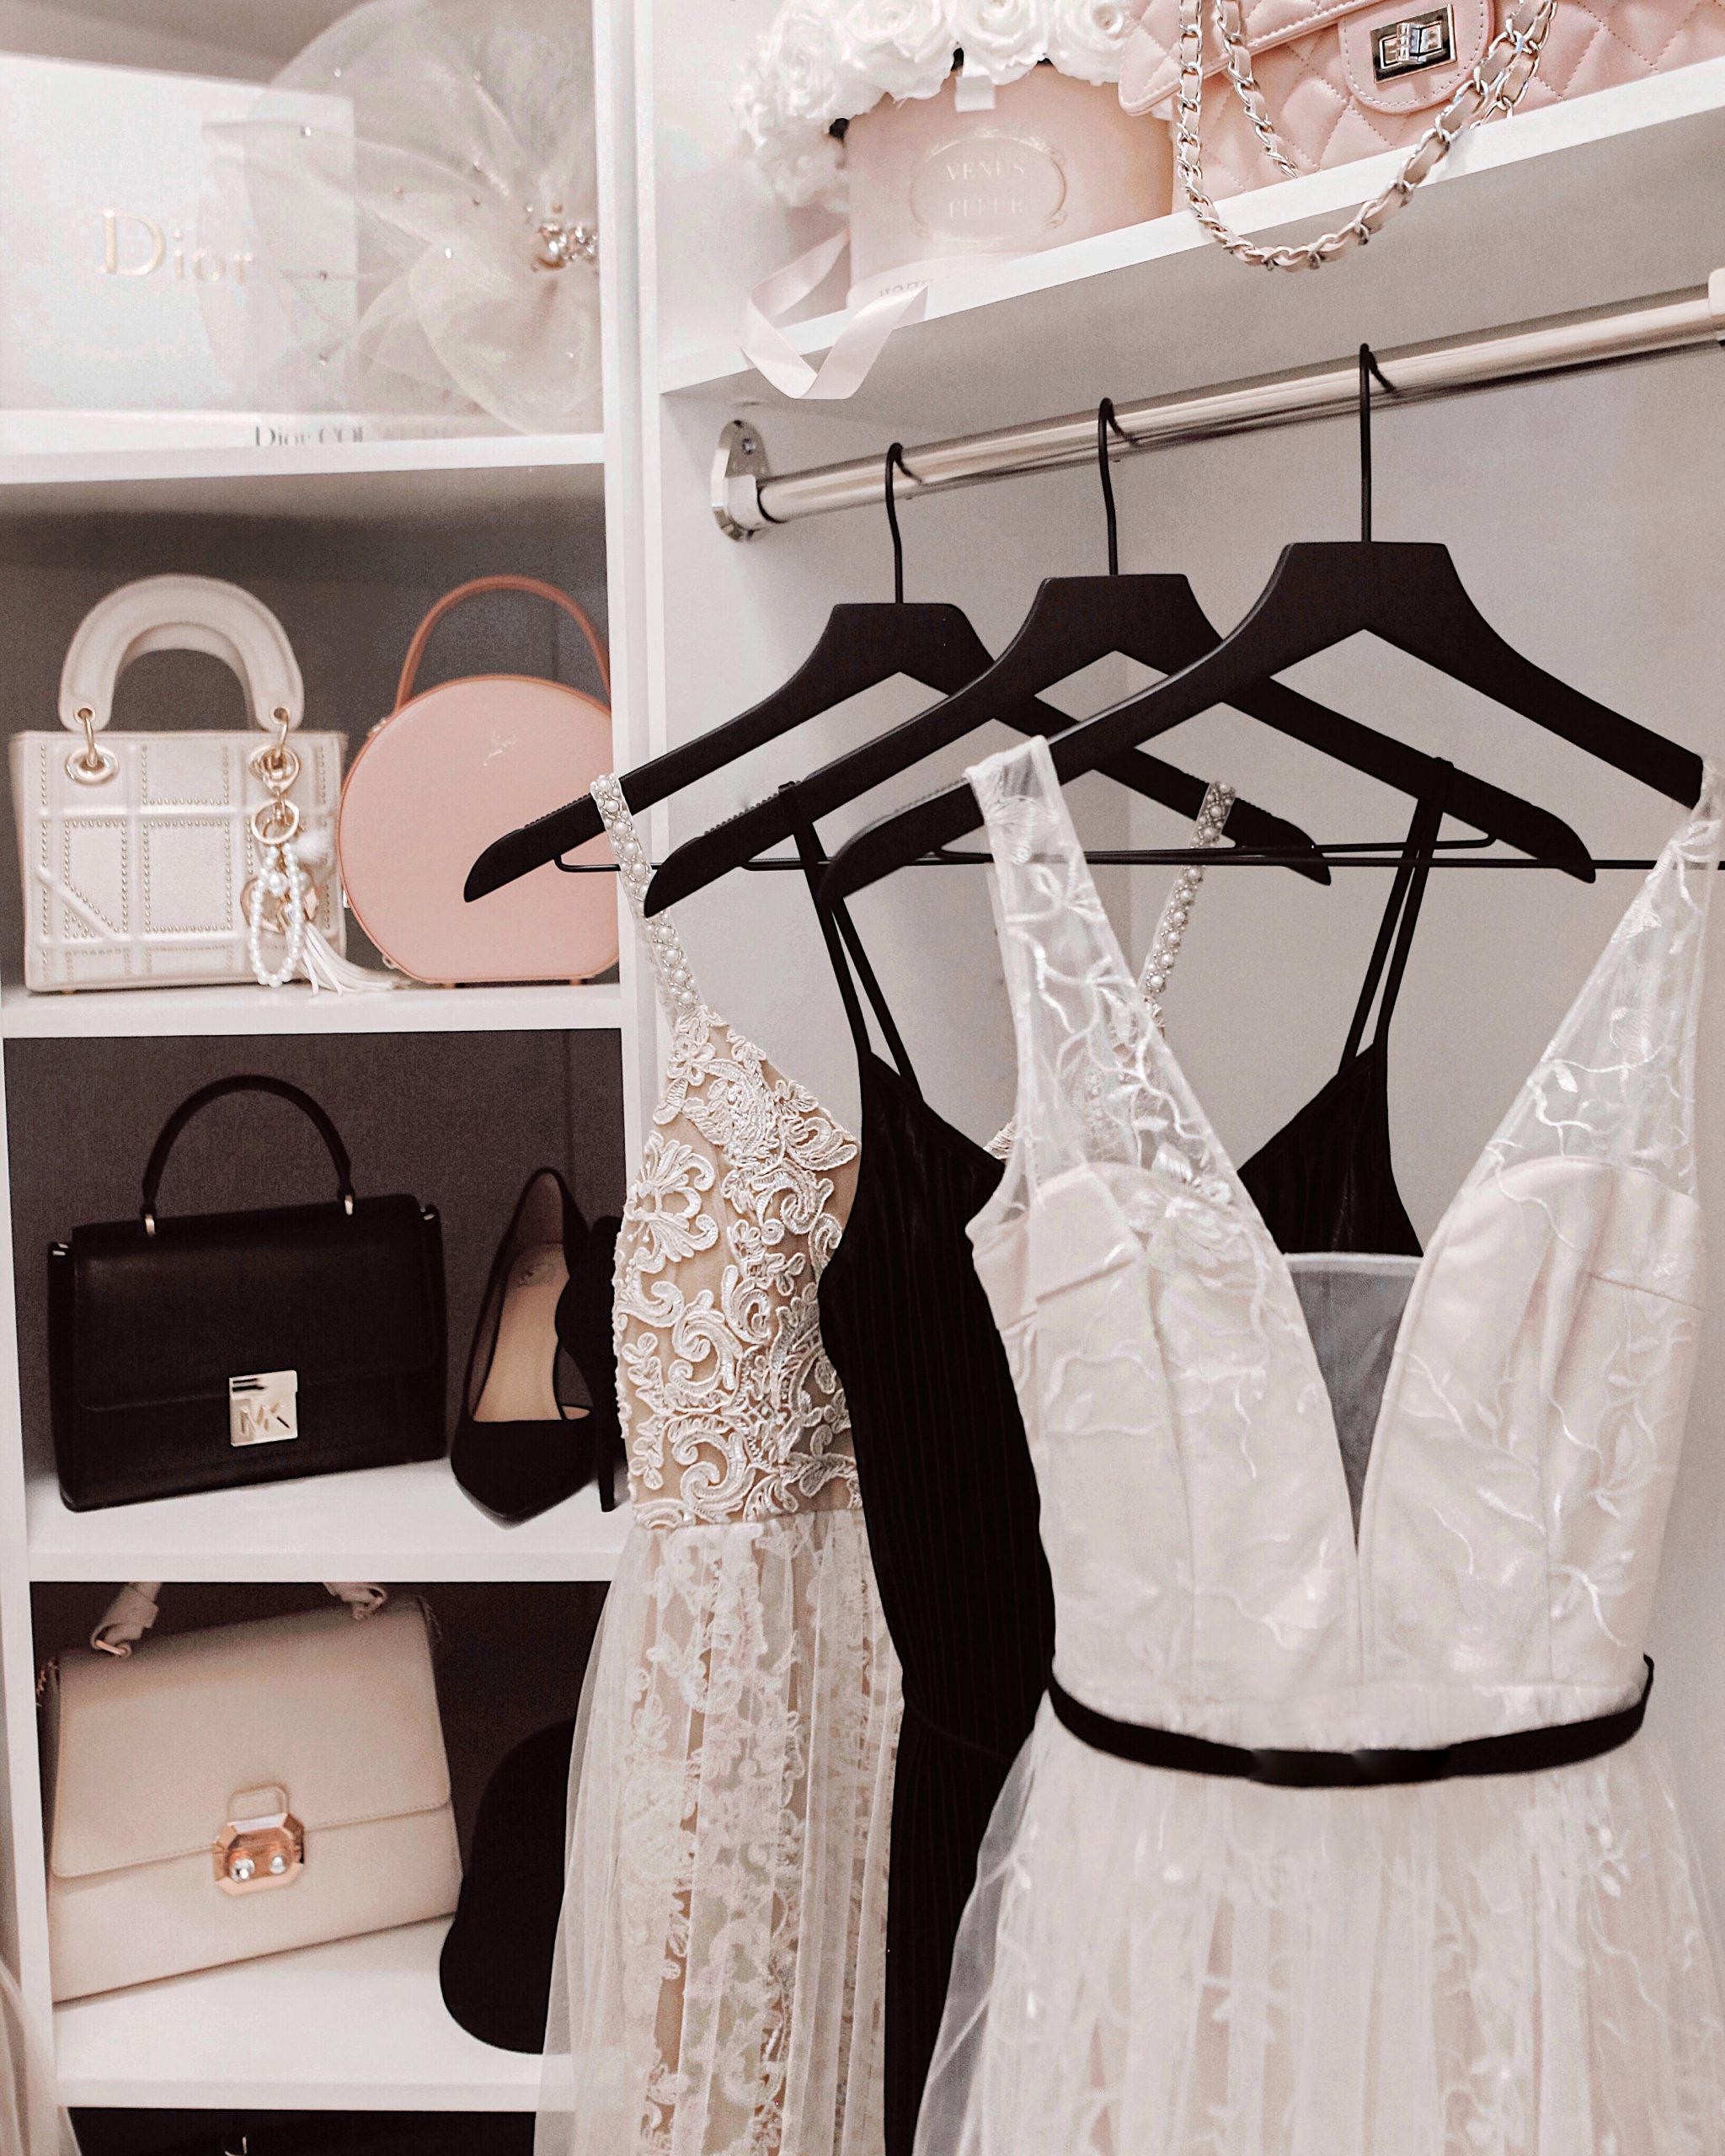
Final thoughts
You may be able to see that I don’t have all of my clothes in the closets for the photos. The reason for that is so that you can get the best view possible of what these closet systems look like.
I’ve been adding more of my stuff in and I think I’m going to meet my goal of having everything fit while still looking aesthetically pleasing. Fingers crossed.
This process took us two weeks. It may take you sooner or longer but it took us that amount of time because of my husband’s schedule.
There are absolutely no regrets here. I’m excited to walk into these closets where as before I kind of dreaded it. It just didn’t look good at all. And with this closet system, all of my pretties are displayed beautifully in a way that I can easily see them and access them.
If you choose to design your own closet with ClosetMaid, know that you can make it work for just about any closet. You can select the kind of towers you want, the amount of shoe racks, drawers or shelves that you want. And you can even choose between multiple options for drawer finishes and wood colors.
I hope this inspired you in some way! If you saw this post, comment on my most recent Instagram post the walk-in closet that was your FAVORITE! ***
Any questions?? Ask me any questions here or on IG and I will respond.
xoxo
[ Finally more photos!]
